This section provides instructions to instantiate the Helm charts as CNFs.
Instantiate the tcsa-init CNF
Before instantiating the Helm charts as CNFs, ensure that you create a VMware Tanzu Kubernetes Grid workload cluster. For more information, see Deploying VMware Tanzu Kubernetes Grid Workload Cluster.
- Navigate to the Network Function catalog and instantiate tcsa-init CNF.
- Enter Name. For example, tcsa-init, and select the VMware Tanzu Kubernetes Grid workload cluster on which you want to deploy it.
- Disable Auto Rollback in Advanced Settings and click Next.

- Set the Namespace to default and select the default library chart repository, that is, the /chartrepo/library endpoint of the associated registry and click Next.

- The Network Function Properties page appears. Click Next.
- In the Inputs section, retain the default value and click Next.

- Click Instantiate.
Instantiate the admin-operator CNF
- Navigate to the Network Function catalog and instantiate admin-operator CNF.
- Enter Name. For example, admin-operator, and select the VMware Tanzu Kubernetes Grid workload cluster on which you want to deploy it.
- Disable Auto Rollback in Advanced Settings and click Next.

- Set the Namespace to default and select the default library chart repository, that is, the /chartrepo/library endpoint of the associated registry and click Next.

- The Network Function Properties page appears. Click Next.
- In the Inputs section, retain the default value and click Next.

- Click Instantiate.
Instantiate tcsa (VMware Telco Cloud Service Assurance) CNF
- To instantiate the VMware Telco Cloud Service Assurance CNF, you must generate a merged_yamls.yaml file for the VMware Telco Cloud Service Assurance chart. Run the following steps inside the Deployment Container.
- Verify that you have unpacked the deployer package launched the Deployment Container as described in Launch the Deployment Container.
- Navigate to the /root/tcx-deployer/scripts directory.
root [ ~/tcx-deployer/scripts ]# cd /root/tcx-deployer/scripts/
root [ ~/tcx-deployer/scripts ]# ls merge-product-yaml-files.sh
merge-product-yaml-files.sh
- Run the merge-product-yaml-files.sh to generate a single merged_yamls.yaml file for the VMware Telco Cloud Service Assurance chart.
root [ ~/tcx-deployer/scripts ]# ./merge-product-yaml-files.sh -c tkg -f 25k -o merged_yamls.yaml
Ouput Merged yaml: merged_yamls.yaml
Please upload this file as the 'additionalValuesFile' during TCSA instantiation on TCA.
root [ ~/tcx-deployer/scripts ]#
- Enter the correct footprint for the
-fparameter. For example,-f 25kfor the 25 K footprint,-f 50kfor the 50 K footprint, and so on. - Enter
tkgas the value for the-cargument. - For the
-oparameter, select the location of the output file. Verify that this path is visible in the underlying machine on which you are running the Deployment Container so that you can copy or upload it to VMware Telco Cloud Automation. - Copy the merged YAML file to your local machine that you are using to access the VMware Telco Cloud Automation manager UI. Upload this file in the next step while you instantiate the VMware Telco Cloud Service Assurance CNF.
- Enter the correct footprint for the
- Navigate to the Network Function catalog and instantiate VMware Telco Cloud Service Assurance CNF.
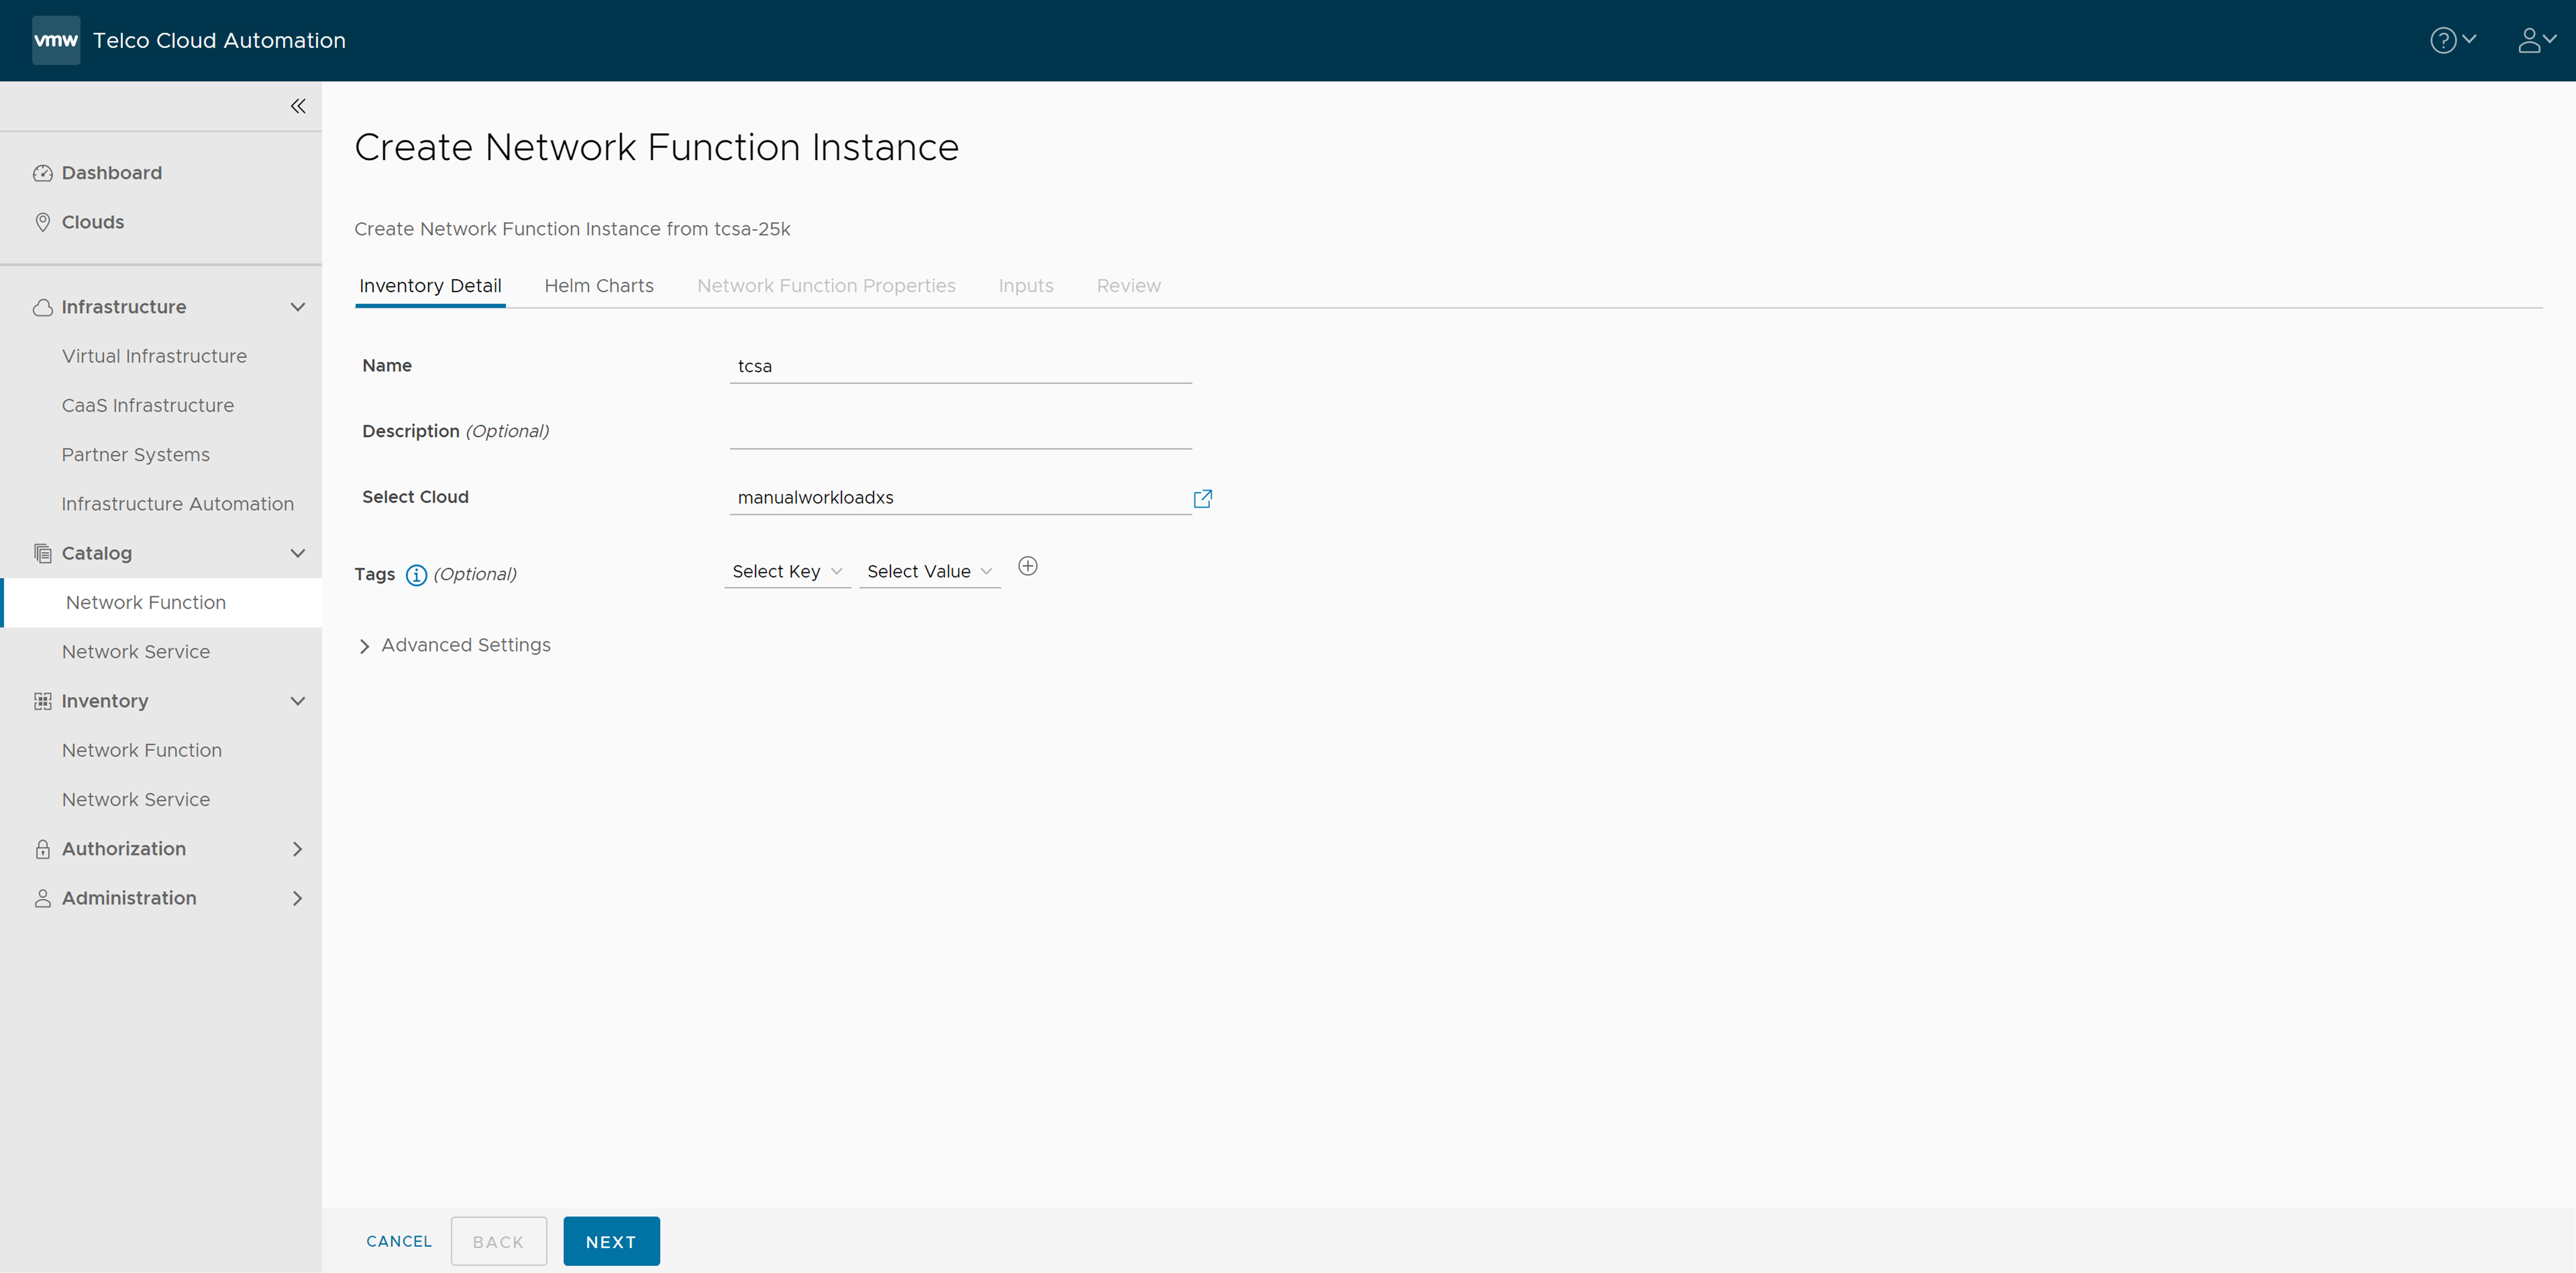
- Enter Name. For example, tcsa, and select the VMware Tanzu Kubernetes Grid workload cluster on which you want to deploy it.
- Disable Auto Rollback in Advanced Settings and click Next.

- Set the Namespace to default and select the default library chart repository, that is, the /chartrepo/library endpoint of the associated registry and click Next.

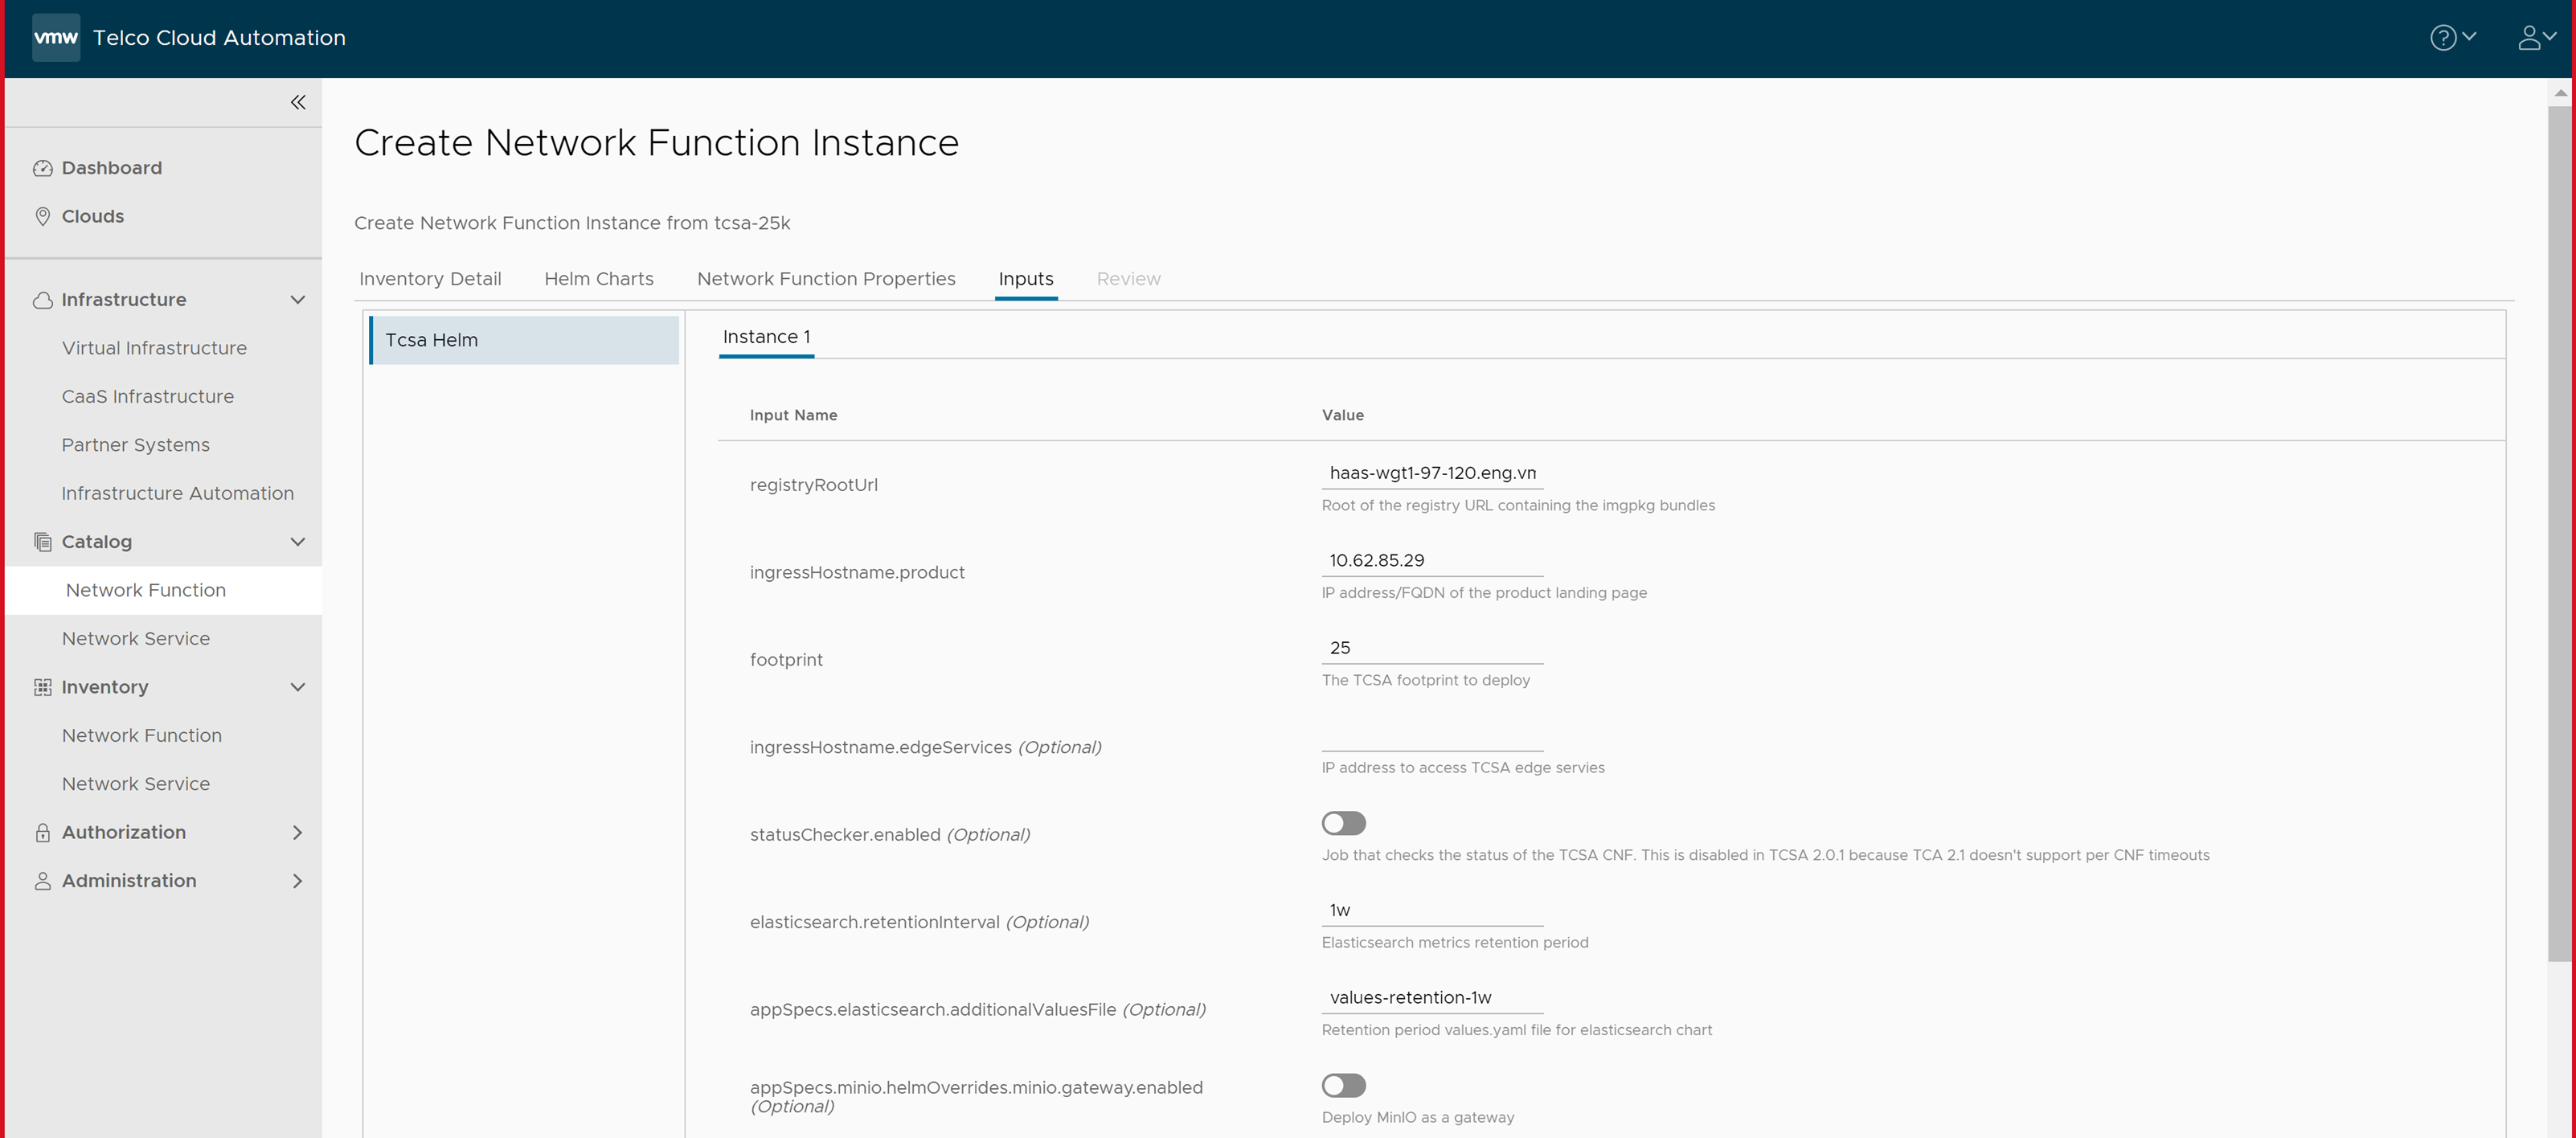
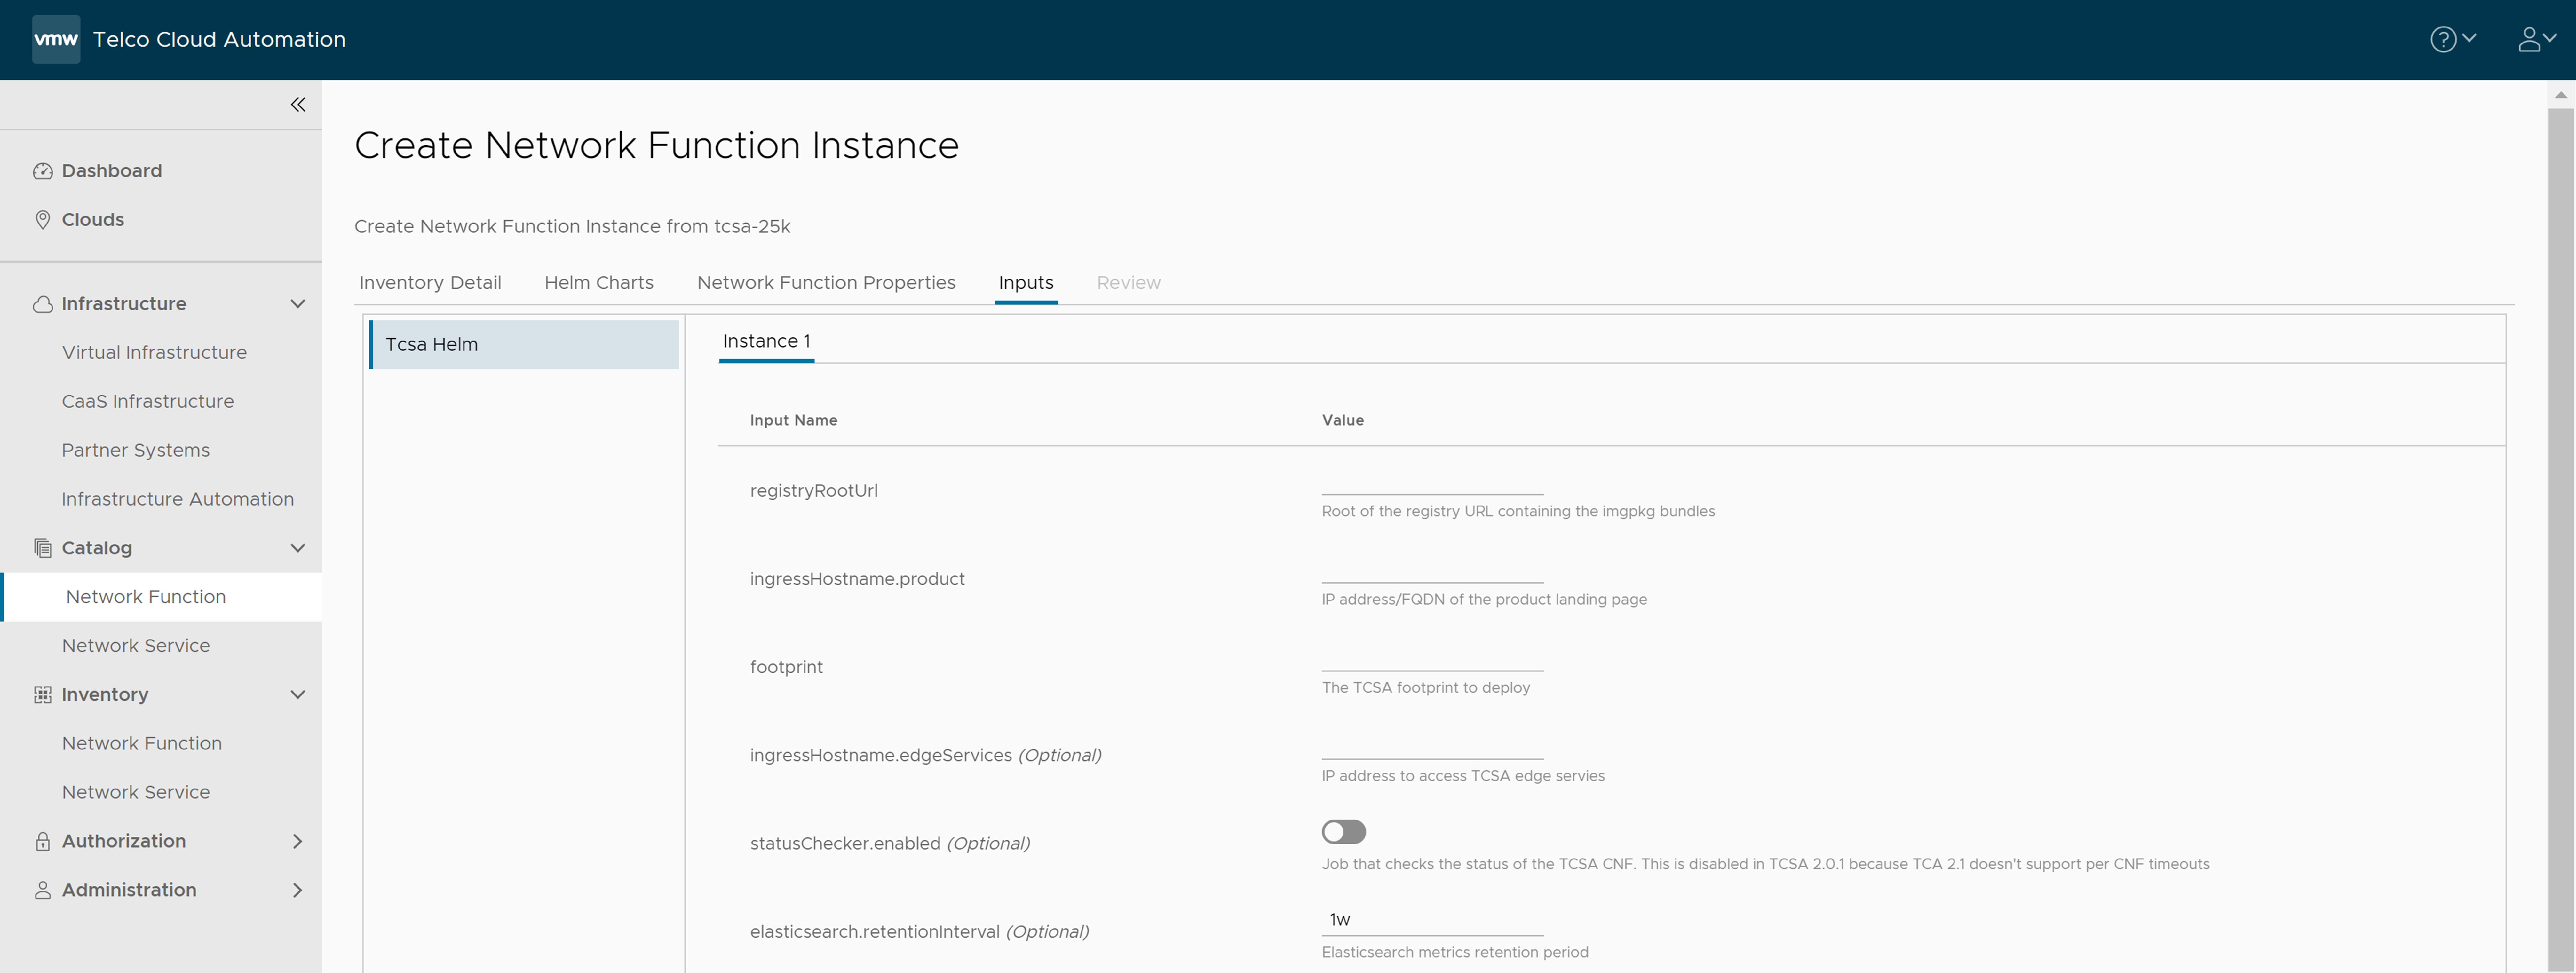
- In the Inputs section, update the following parameters:
- Set registryRootUrl to the same value as the
--registry-urlargument to the installer script in the Push Artifacts to Registry topic. - Set ingressHostname.product to the virtual IP of your VMware Tanzu Kubernetes Grid cluster.
- Set footprint to the VMware Telco Cloud Service Assurance footprint that you are deploying. For example, 25 K, 50 K, and 100 K.
- (Optional) Set ingressHostname.edgeServices to the IP address to use in case you want to access external Kafka.
- Set statusChecker.enabled to check the status of the VMware Telco Cloud Service Assurance CNF.

 Note: The statusChecker.enabled parameter is disabled in VMware Telco Cloud Service Assurance 2.0.1 because VMware Telco Cloud Automation 2.1 does not support CNF timeouts.
 - Set elasticsearch.retentionInterval to the desired retention period of metrics in Elasticsearch.
Note: By default, the retention interval is 1w. The retention interval values can be 1w, 2w, 3w, 4w, 5w, 4w, or 7w.
- Set appSpecs.elasticsearch.additionalValuesFile to one of the values like values-retention-1w, values-retention-2w, values-retention-3w, values-retention-4w, values-retention-5w, values-retention-6w, or values-retention-7w.
Select the same retention period as elasticsearch.retentioninterval. For example, values-retention-1w for 1 week. This is an additional configuration required to properly configure the retention of metrics in Elasticsearch.Note: Setting the Elasticsearch retention parameters is optional. By default, the retention interval is 1w for elasticsearch.retentioninterval and values-retention-1w for appSpecs.elasticsearch.additionalValuesFile.If you want to store the backup and restore in a AWS cloud, you must enable the following parameters in the VMware Telco Cloud Automation UI:
- appSpecs.minio.helmOverrides.minio.gateway.enabled
- appSpecs.minio.helmOverrides.minio.gateway.auth.s3.accessKey
- appSpecs.minio.helmOverrides.minio.gateway.auth.s3.secretKey
- appSpecs.brOperator.helmOverrides.minio.backupBucketName
- For additionalValuesFile upload the merged merged_yamls.yaml file generated using the merge-product-yaml-files.sh script from step 1.
- Set registryRootUrl to the same value as the
- Click Next.
- Click Instantiate.
- Use kubectl command to manually check the status of VMware Telco Cloud Service Assurance CNF while checking for the corresponding Custom Resource which is
tcxproduct.root [ ~/tcx-deployer/scripts ]# kubectl get tcxproduct NAME STATUS READY MESSAGE AGE tcsa-201-abe98-7vckg updateCompleted True All App CRs reconciled successfully 41m root [ ~/tcx-deployer/scripts ]# kubectl get tcxproduct tcsa-201-abe98-7vckg
Note: After running the kubectl command, wait until the following instantiation message is displayed.- The deployment time for VMware Telco Cloud Service Assurance can vary based on scale. So, the
kubectl get tcxproduct <instance-name> -wcommand must run according to scale. - A successful instantiation shows the following fields:
- STATUS: updateCompleted
- READY: True
- Message: All Apps CRs reconciled successfully
- The deployment time for VMware Telco Cloud Service Assurance can vary based on scale. So, the