The steps for setting up an alarm based on KPI metrics are provided in this topic. Make sure to choose the necessary KPI definition from the filtered metrics preview when creating a KPI alarm so that the Notification Console can display the relevant KPI event for that alarm.
Prerequisites
Ensure that you create a KPI definition in order to select the necessary KPI definition from the filtered metrics preview wizard. For more information, see Create a KPI Definition.
Procedure
- Navigate to .
- Click Add.
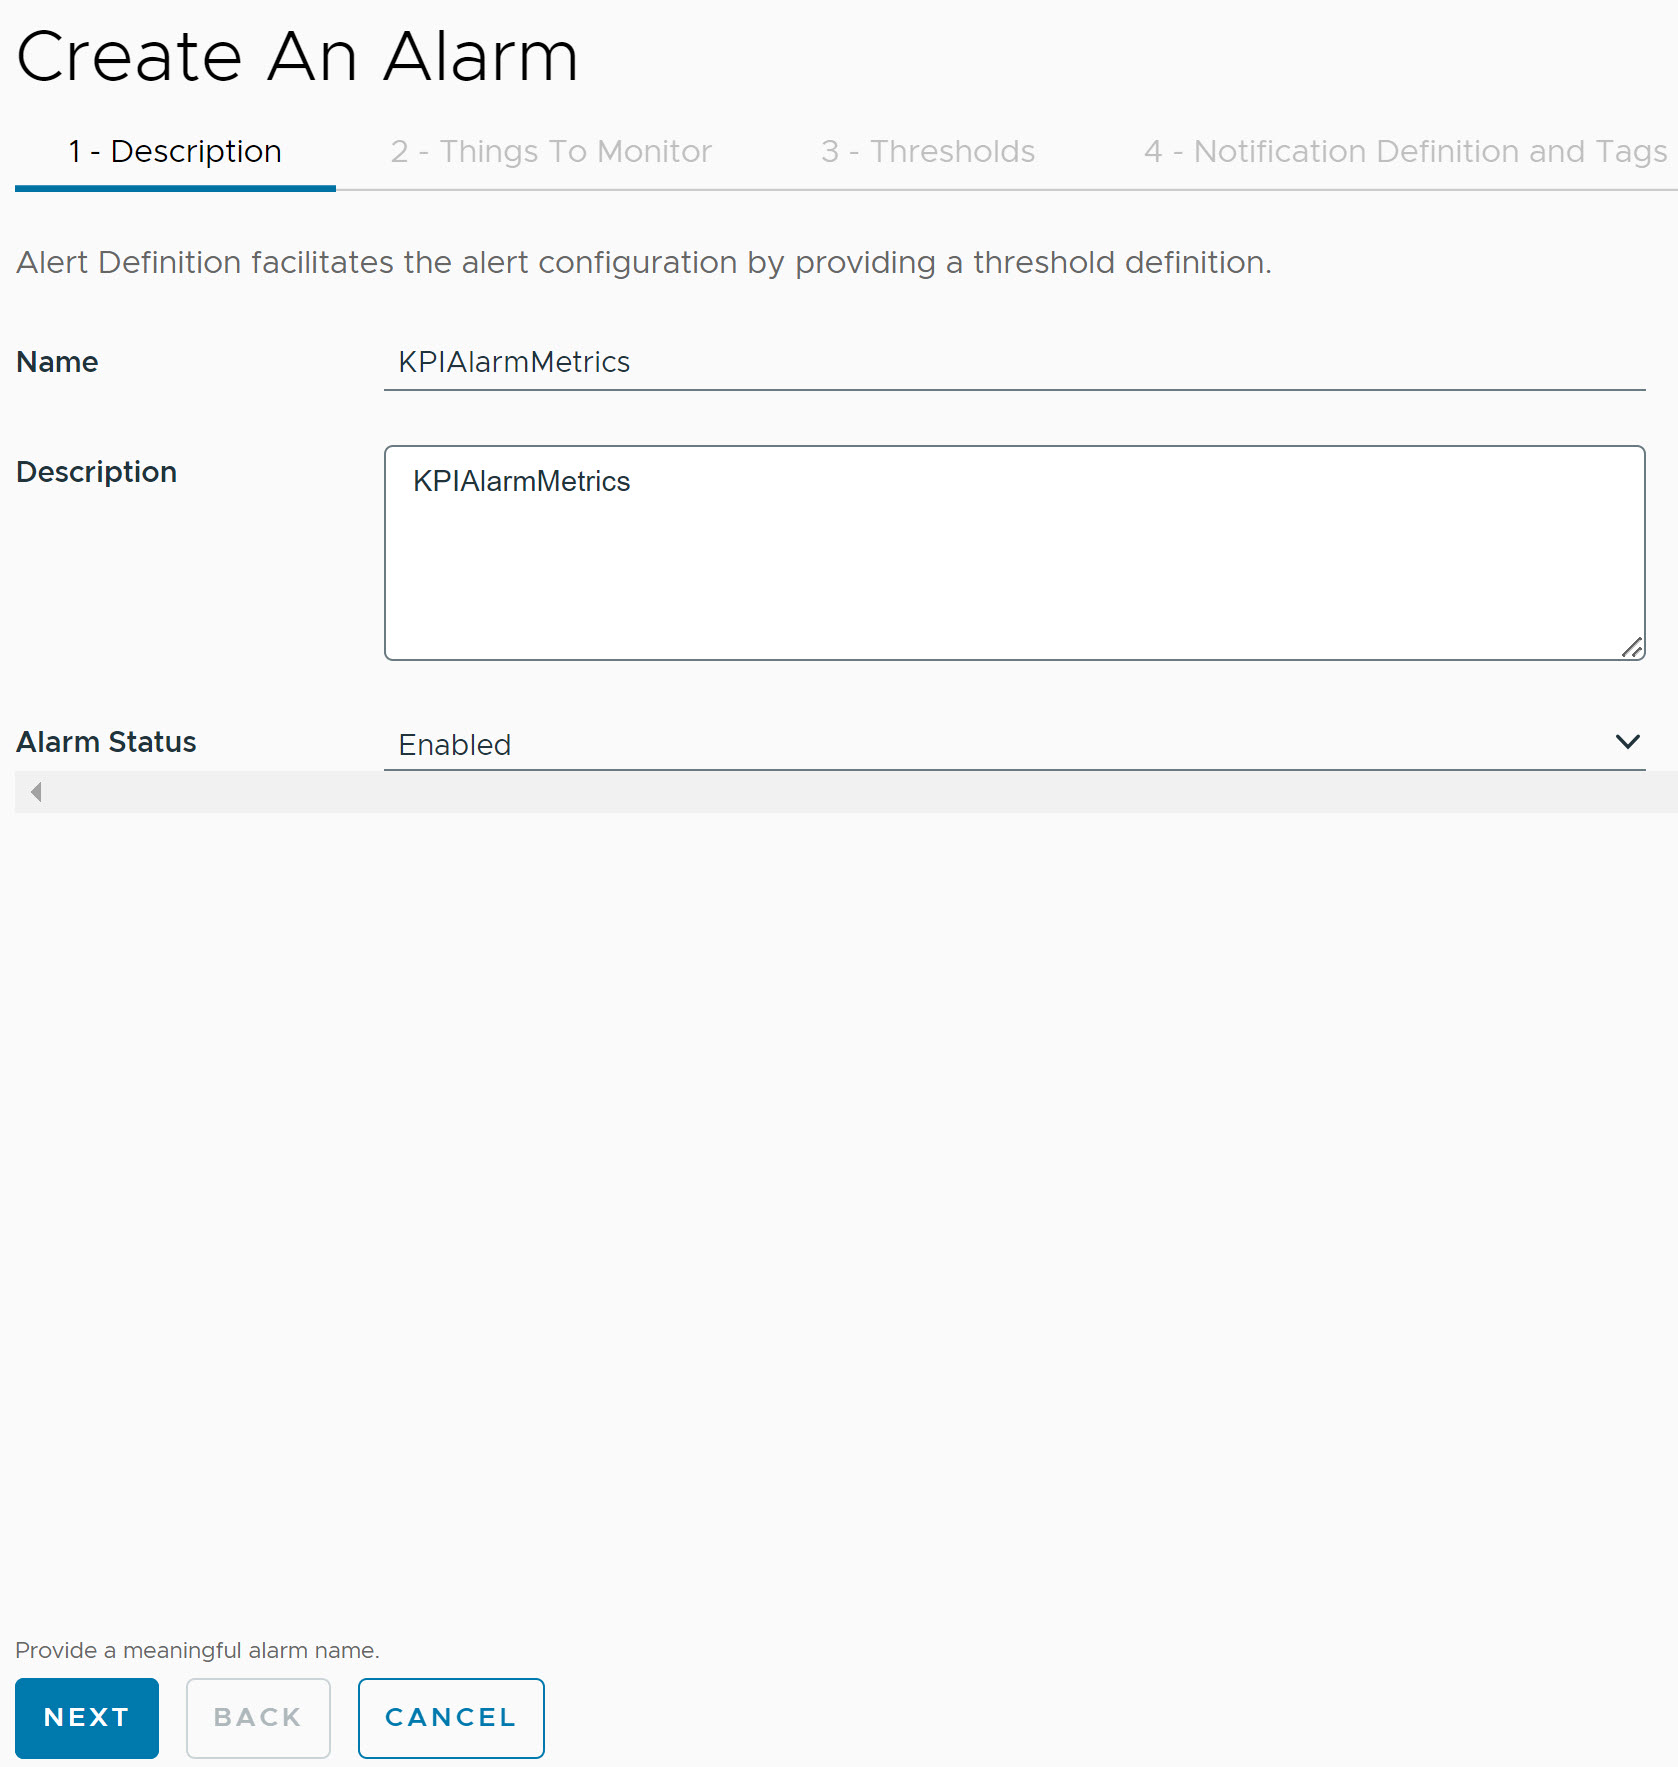
- Under Description, update the following parameters:
- Name: Provide the name for an alarm. Only letters, numbers, and hyphens are allowed.
- Description: Provide the description for an alarm. This field is optional.
- Alarm Status: Select the status of an alarm. The supported values are listed in the selection drop-down menu. By default, the alarm status is Disabled.

- Click Next.
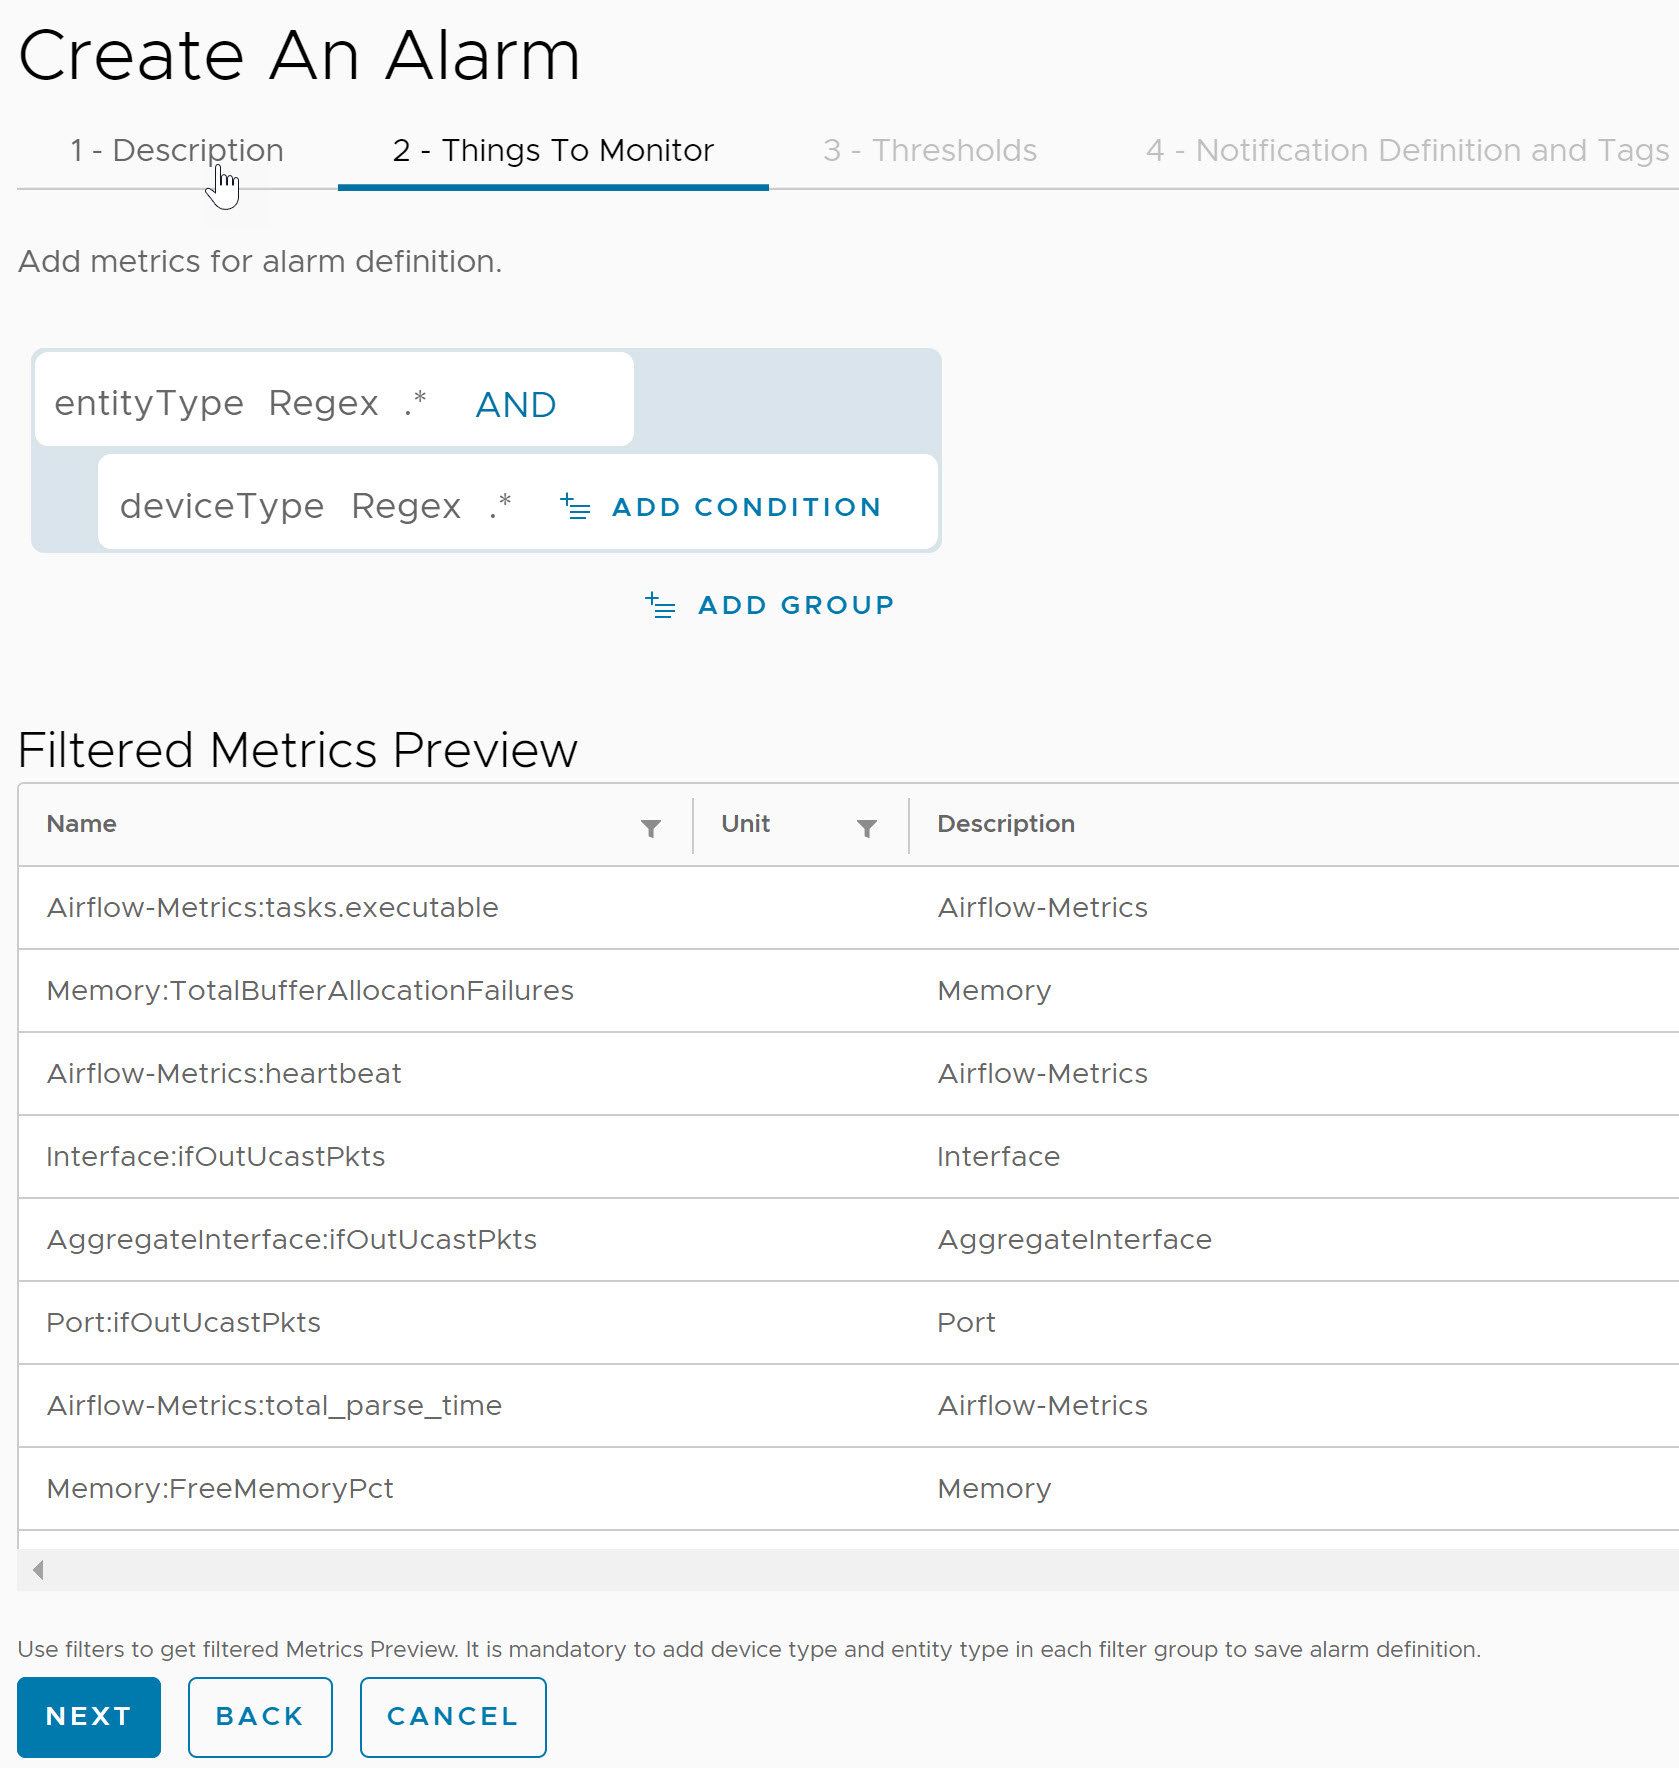
- Under Things to Monitor, select the Property, Expression, and Value.
- To add multiple properties for a given metric within the same group, click Add Condition. The AND condition tag is used to filter metrics within the same group.
- To add multiple filters, click Add Group. The OR condition tag is used to filter metrics from different groups.
Select the relevant KPI from the filtered metrics preview grid.
Note: The filtered metrics preview grid does not display values for units and descriptions, as the source metrics do not have them.

- Click Next.
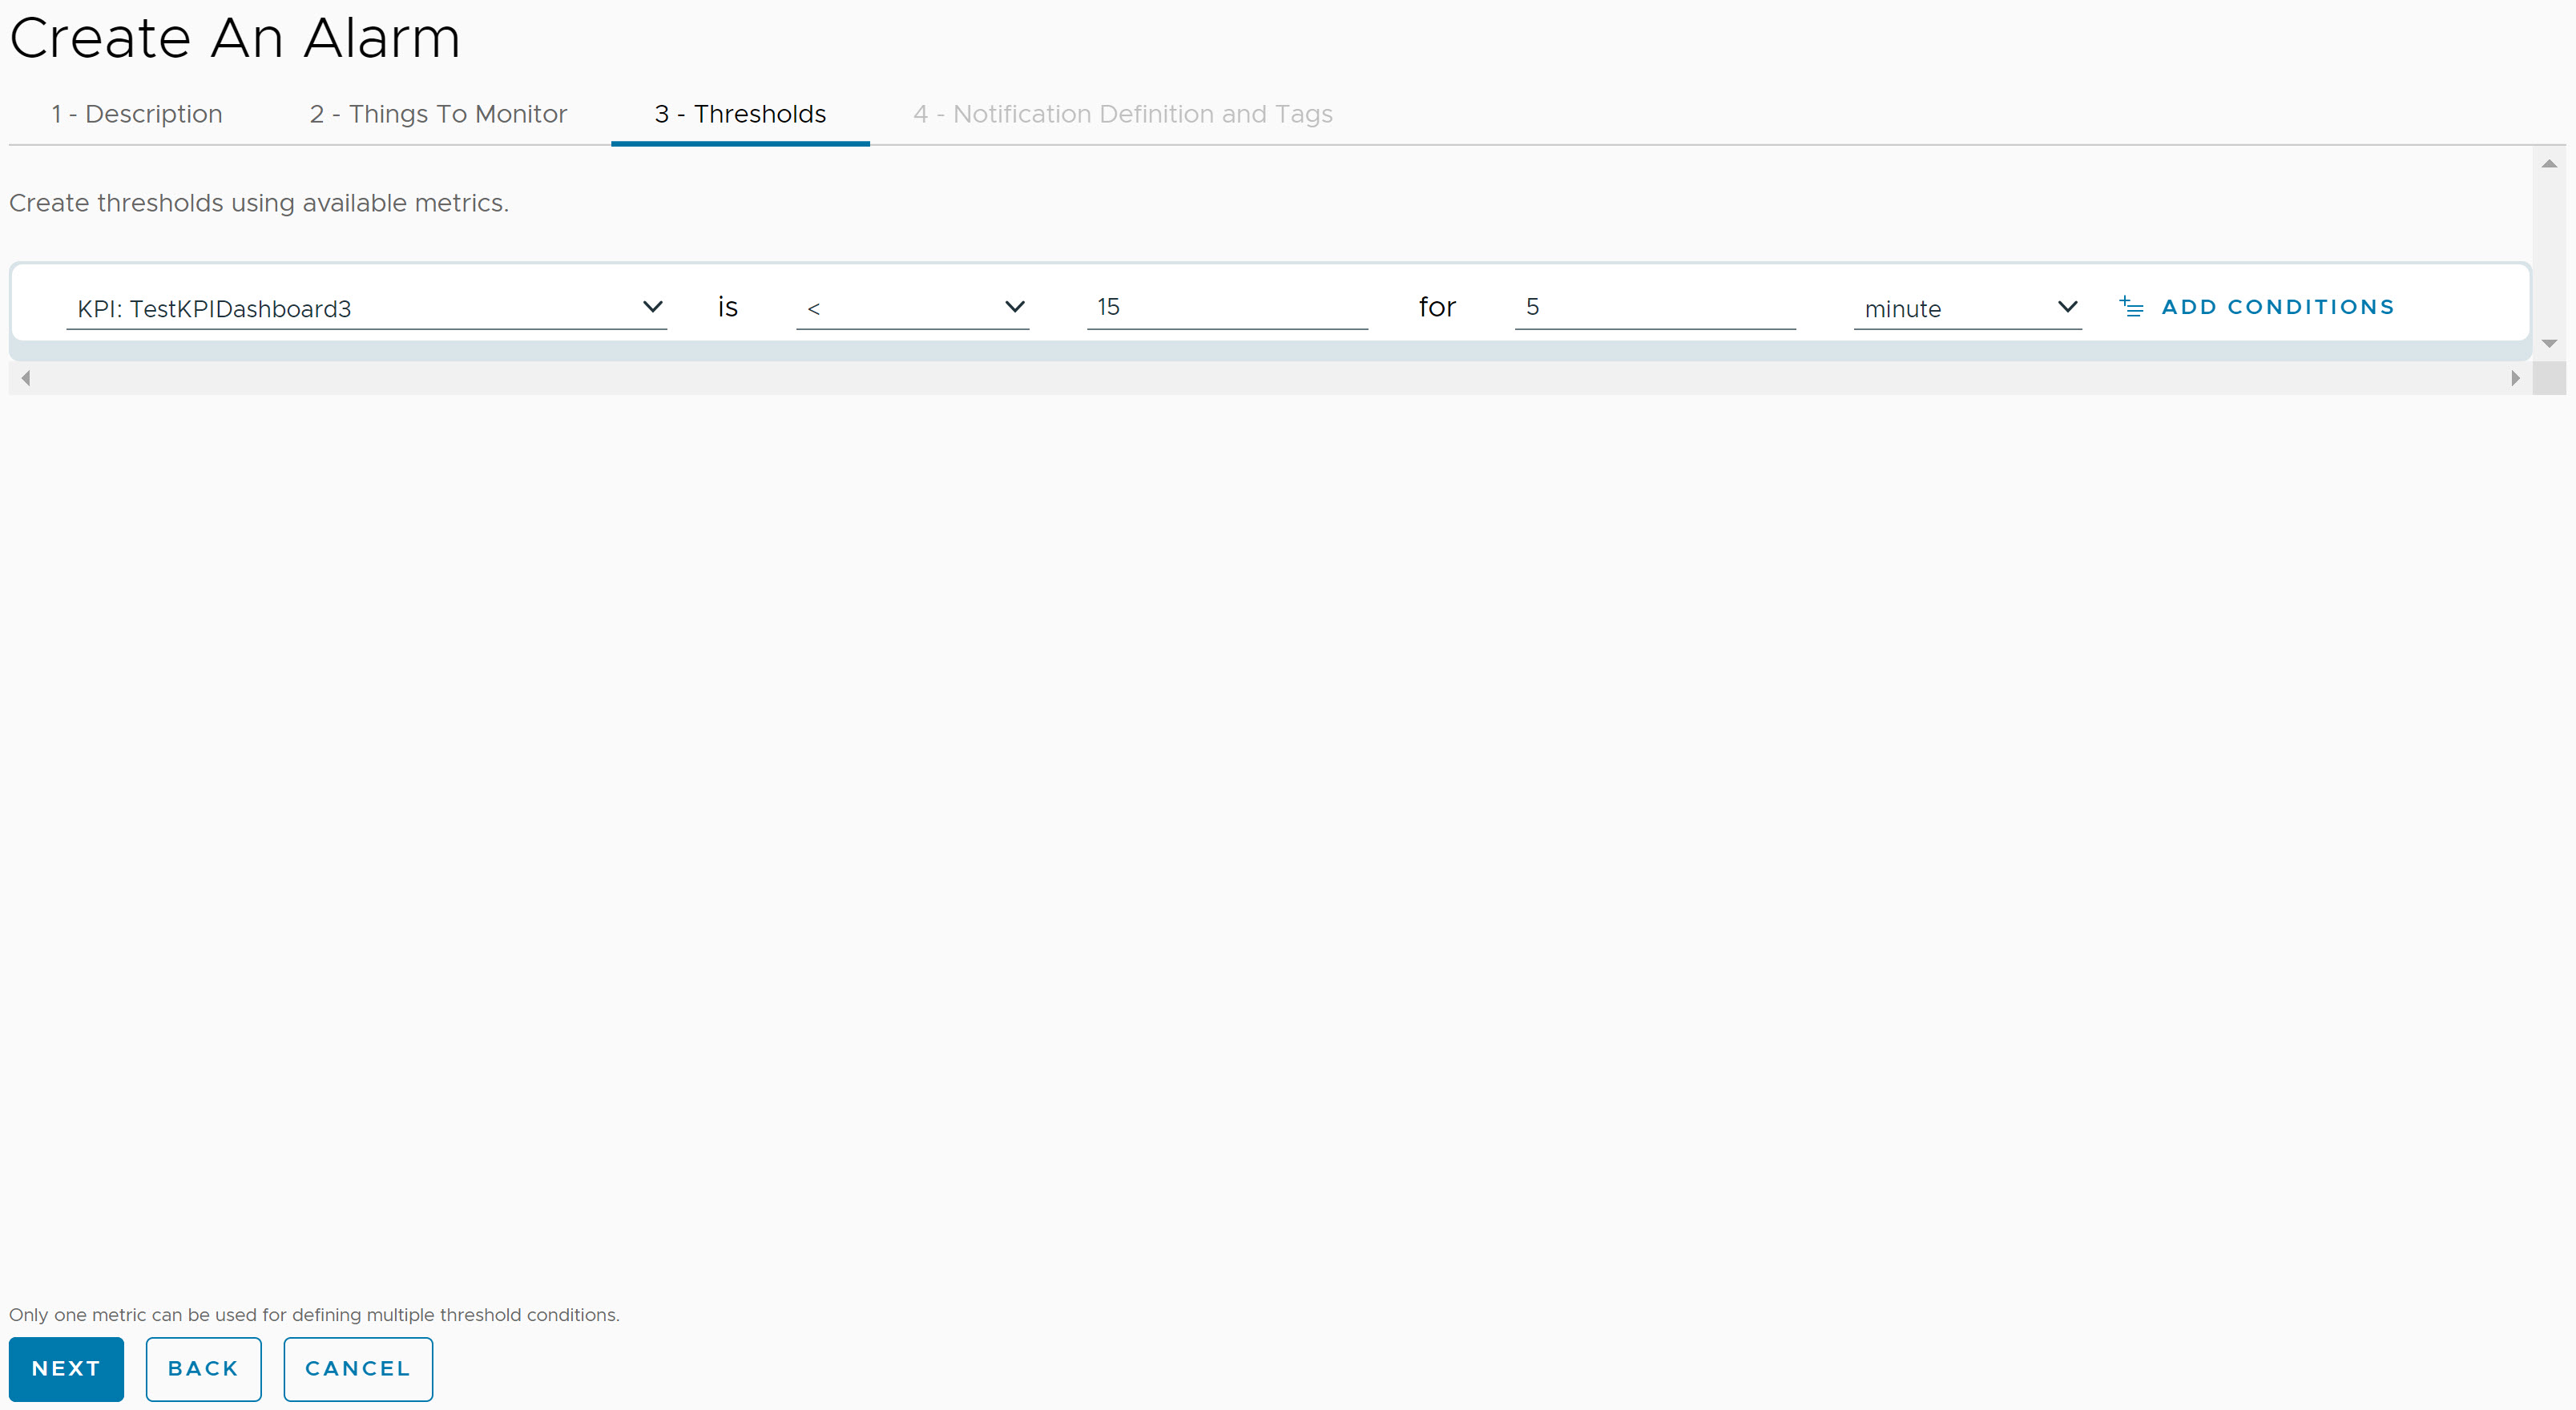
- Under Thresholds, select the KPI Metric, Condition, Duration, and Time unit from the selection drop-down menu and specify a value.

Note: You can add only two threshold conditions, and they are
AND conditions.
To add multiple threshold crossing conditions, click
Add Conditions.
- Click Next.
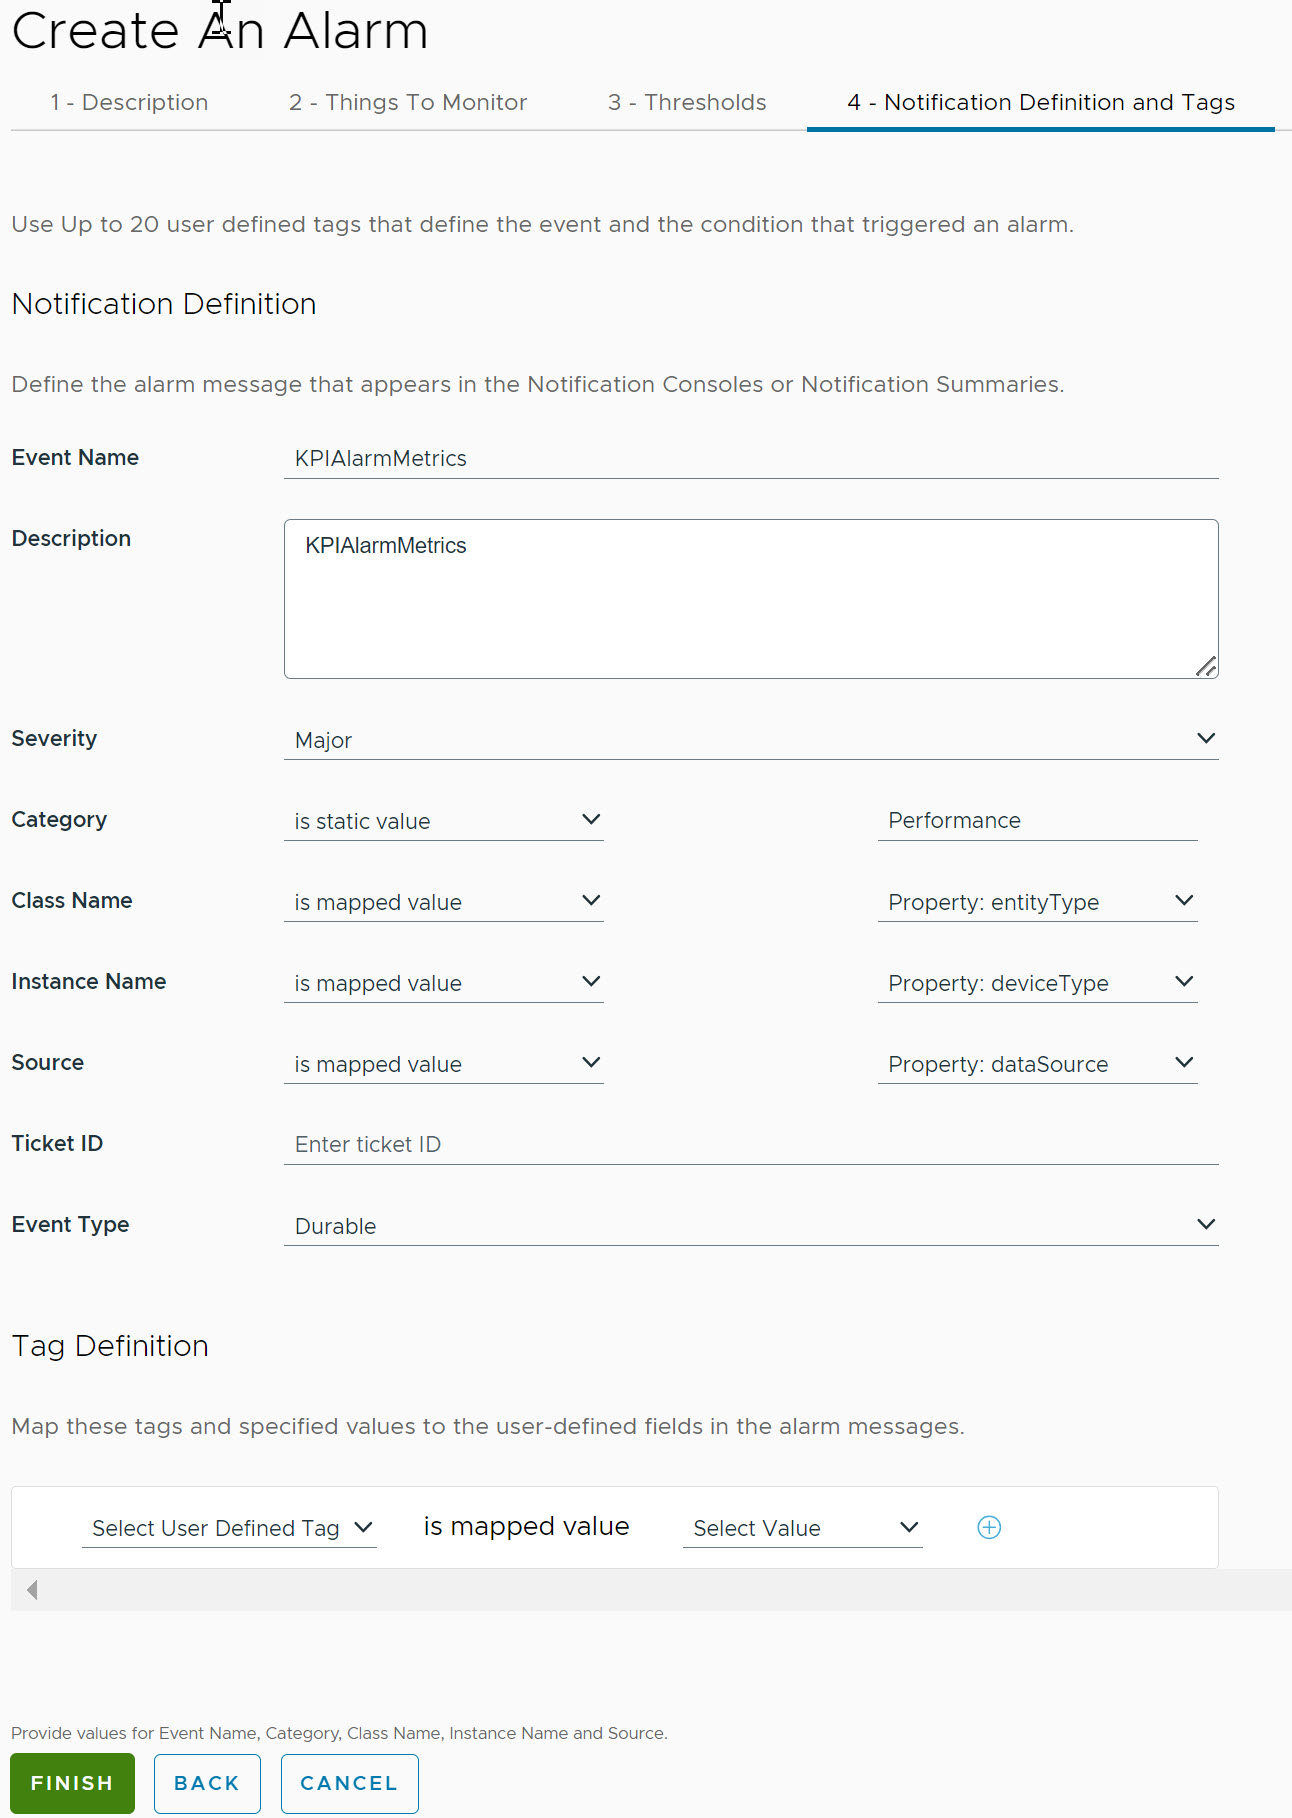
- Under Notification Definition and Tags, provide the notification and tag definition details.
For Notification Definition, update the following fields:
- Event Name: Provide a name for the event.
- Description: Provide a description for the event. This field is optional.
- Severity: Select the severity level of an alarm. The supported values are listed in the selection drop-down menu.
- Select Category, Class Name, Instance Name, and Source. These fields can have mapped or static values.
Note:
Ticket ID is an optional field.
- Select Event Type. This field can have two values Momentary or Durable. If the event type is Momentary, you must enter the Duration value and select the duration.
The duration field enables automatic deletion of notifications. Momentary notifications are automatically cleared based on the specified time duration. Any update to the momentary notification before the automatic deletion period may restart the time period.
Every notification is identified with a Class Name, Instance Name, Event Name, and Source. Make sure that you map the correct values with the notification definition fields. Use the durable field for the automatic deletion of notifications. The value of the source field must match between notifications and clear notifications.
For Tag Definition, select one or more
User Defined Tags and map the values to the user-defined fields in the alarm messages. This field is optional.
- Click Finish.
- You must configure the OI server in order to receive alerts from the configured KPI definition. For more information on configuring the OI server, see the Add Domain Settings for OI Server topic.
After the OI server is configured, you can receive alerts for the configured KPI definition in the Notification Console.


