You can configure Supervisor with any OIDC-compliant identity provider (IDP), such as Okta. To complete the integration, you configure the IDP with the callback URL for Supervisor.
Supported External OIDC Providers
| External IDP | Configuration |
|---|---|
| Configure Workspace ONE Access as an OIDC provider for Pinniped |
|
| Google OAuth |
Configuring the IDP with the Callback URL for Supervisor
When configuring the external identity provider for use with TKG on Supervisor, you supply the external identity provider with the Callback URL that is available in vCenter Server at screen.
Example OIDC Configuration Using Okta
- Copy the Identity Provider Callback URL which you need to create an OIDC connection between Okta and vCenter Server.
Using the vSphere Client, get the Identity Provider Callback URL at . Copy this URL to a temporary location.
Figure 1. IDP Callback URL 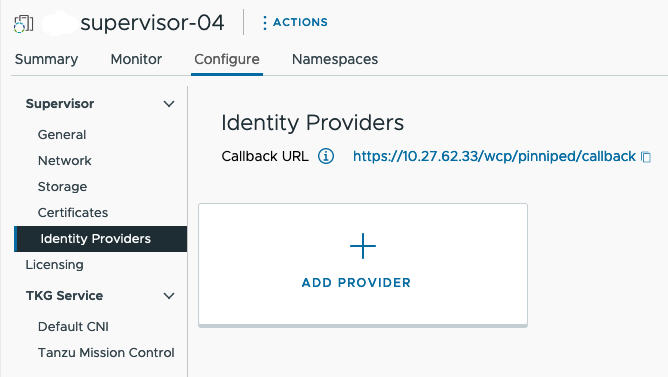
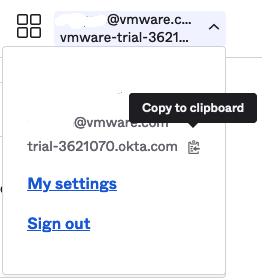
- Log in to the Okta account for your organization, or create a trial account at https://www.okta.com/. Click the Admin button to open the Okta admin console.
Figure 2. Okta Admin Console 
- From the Getting Started page in the admin console, navigate to .
Figure 3. Okta Getting Started 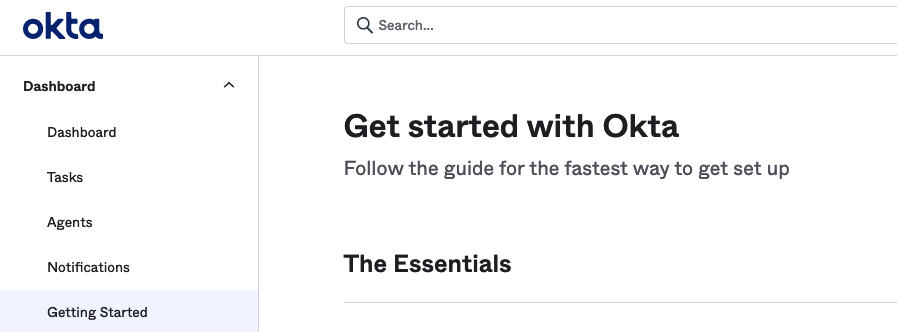
- Select the option to Create App Integration.
Figure 4. Okta Create App Integration 
- Create the new app integration.
- Set the Sign-in method to OIDC - OpenID Connect
- Set the Application type to Web Application
Figure 5. Okta Sign-On Method and Application Type 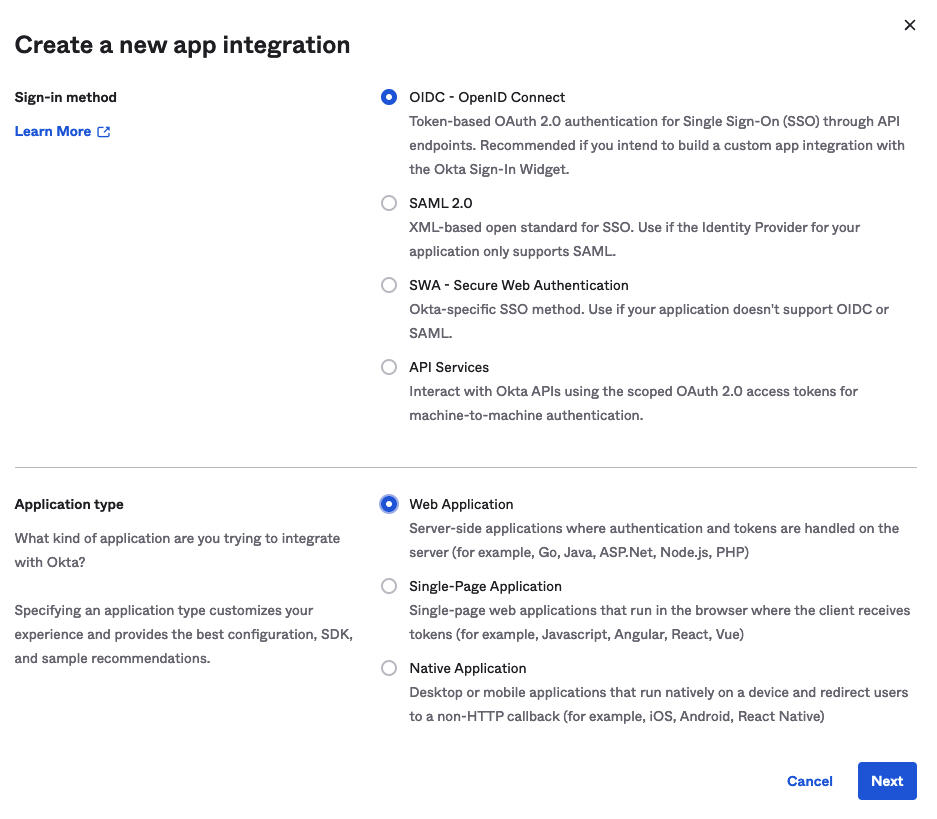
- Configure the Okta web application integration details.
- Provide an App integration name, which is a user-defined string.
- Specify the Grant type: Select Authorization Code and also select Refresh Token.
- Sign-in redirect URIs: Enter the Identity Provider Callback URL that you copied from Supervisor (see Step 1), such as https://10.27.62.33/wcp/pinnipend/callback.
- Sign-out redirect URIs: Enter the Identity Provider Callback URL that you copied from Supervisor (see Step 1), such as https://10.27.62.33/wcp/pinnipend/callback.
Figure 6. Okta Web Application Integration Details 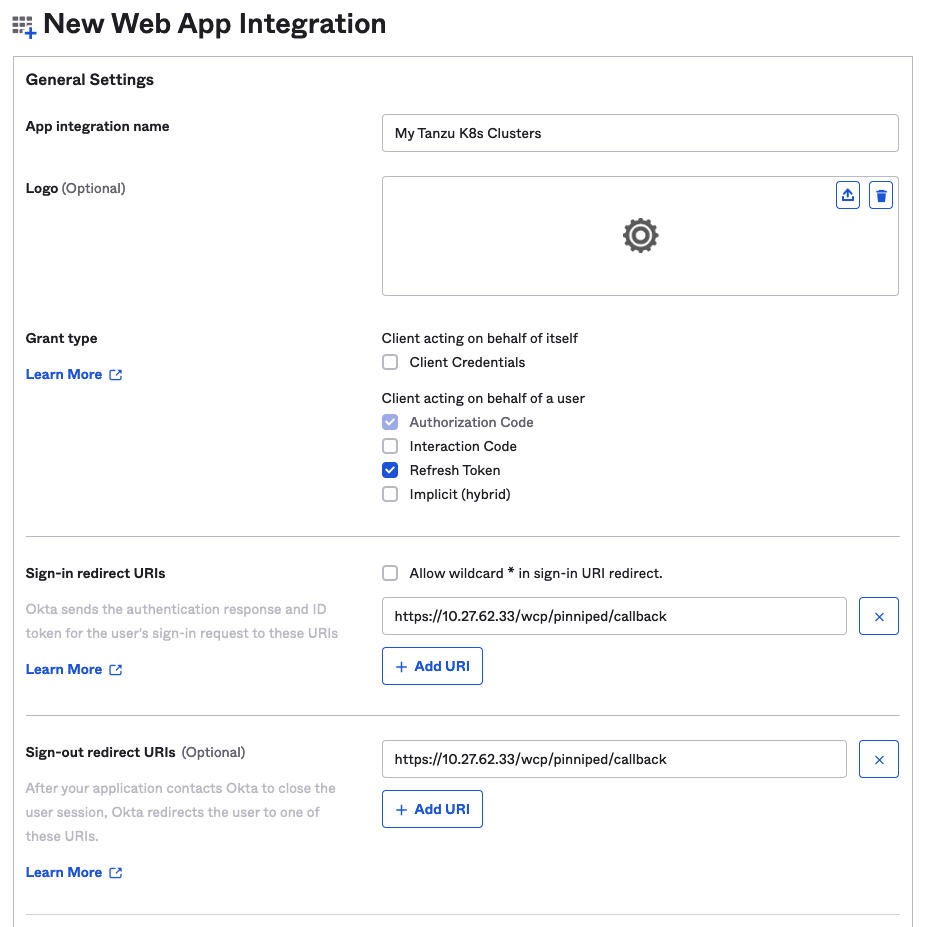
- Configure user access control.
In the section, you can optionally control which of the Okta users that exist in your organization can access TKG clusters. In the example, allow everyone defined in the organization has access.
Figure 7. Okta Access Control 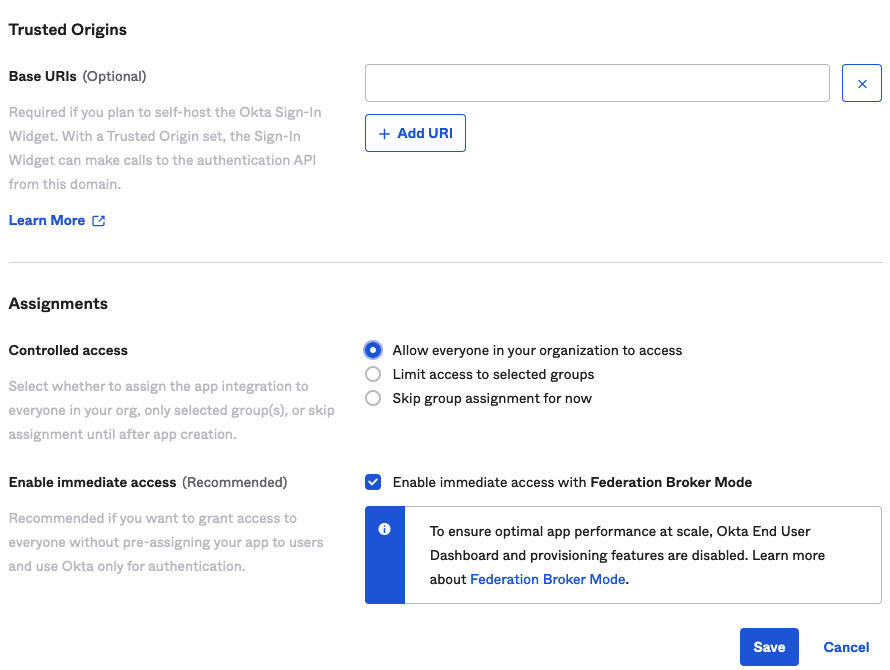
- Click Save and copy the Client ID and Client Secret that are returned.
When you save the OKTA configuration, the admin console provides you with a Client ID and Client Secret. Copy both pieces of data because you need them to configure Supervisor with an external identity provider.
Figure 8. OIDC Client ID and Secret 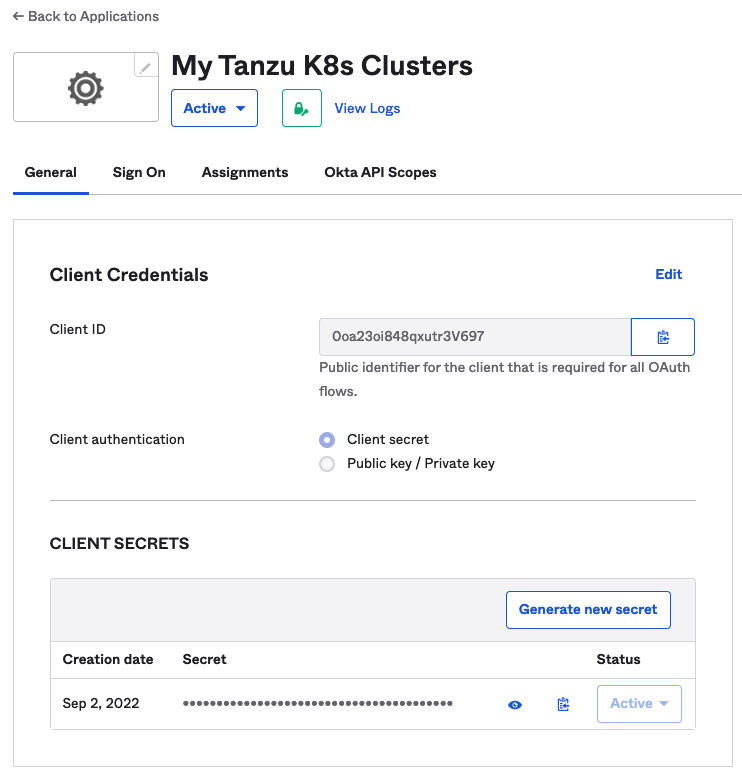
- Configure the OpenID Connect ID Token.
Click the Sign On tab. In the OpenID Connect ID Token section, click the Edit link, fill in the Groups claim type filter, and Save the settings.
For example, if you want the claim name "groups" to match all groups, select .
Figure 9. OpenID Connect ID Token 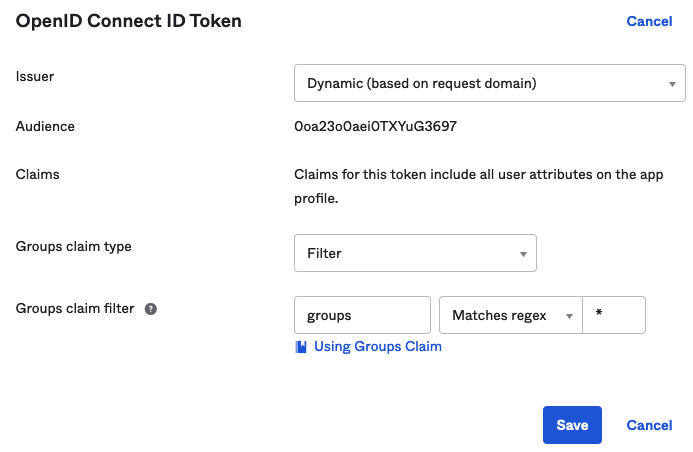
- Copy the Issuer URL.
To configure Supervisor, you need Issuer URL, in addition to the Client ID and Client Secret.
Copy the Issuer URL from the Okta admin console.Figure 10. Okta Issuer URL 