


The NSX-V to NSX-T migration process operates primarily within the context of a vRealize Automation migration plan wizard, which uses a series of on-screen instructions and prompts. The vRealize Automation administrator and the NSX administrator must communicate with one another prior to migration and during one of the migration plan steps in the process.
To gain an overall understanding of the migration process and its supported topologies before you begin the tasks described on the Getting Started page, review the following migration overview. For reference, links to specific documentation topics that apply to each migration plan page are provided.
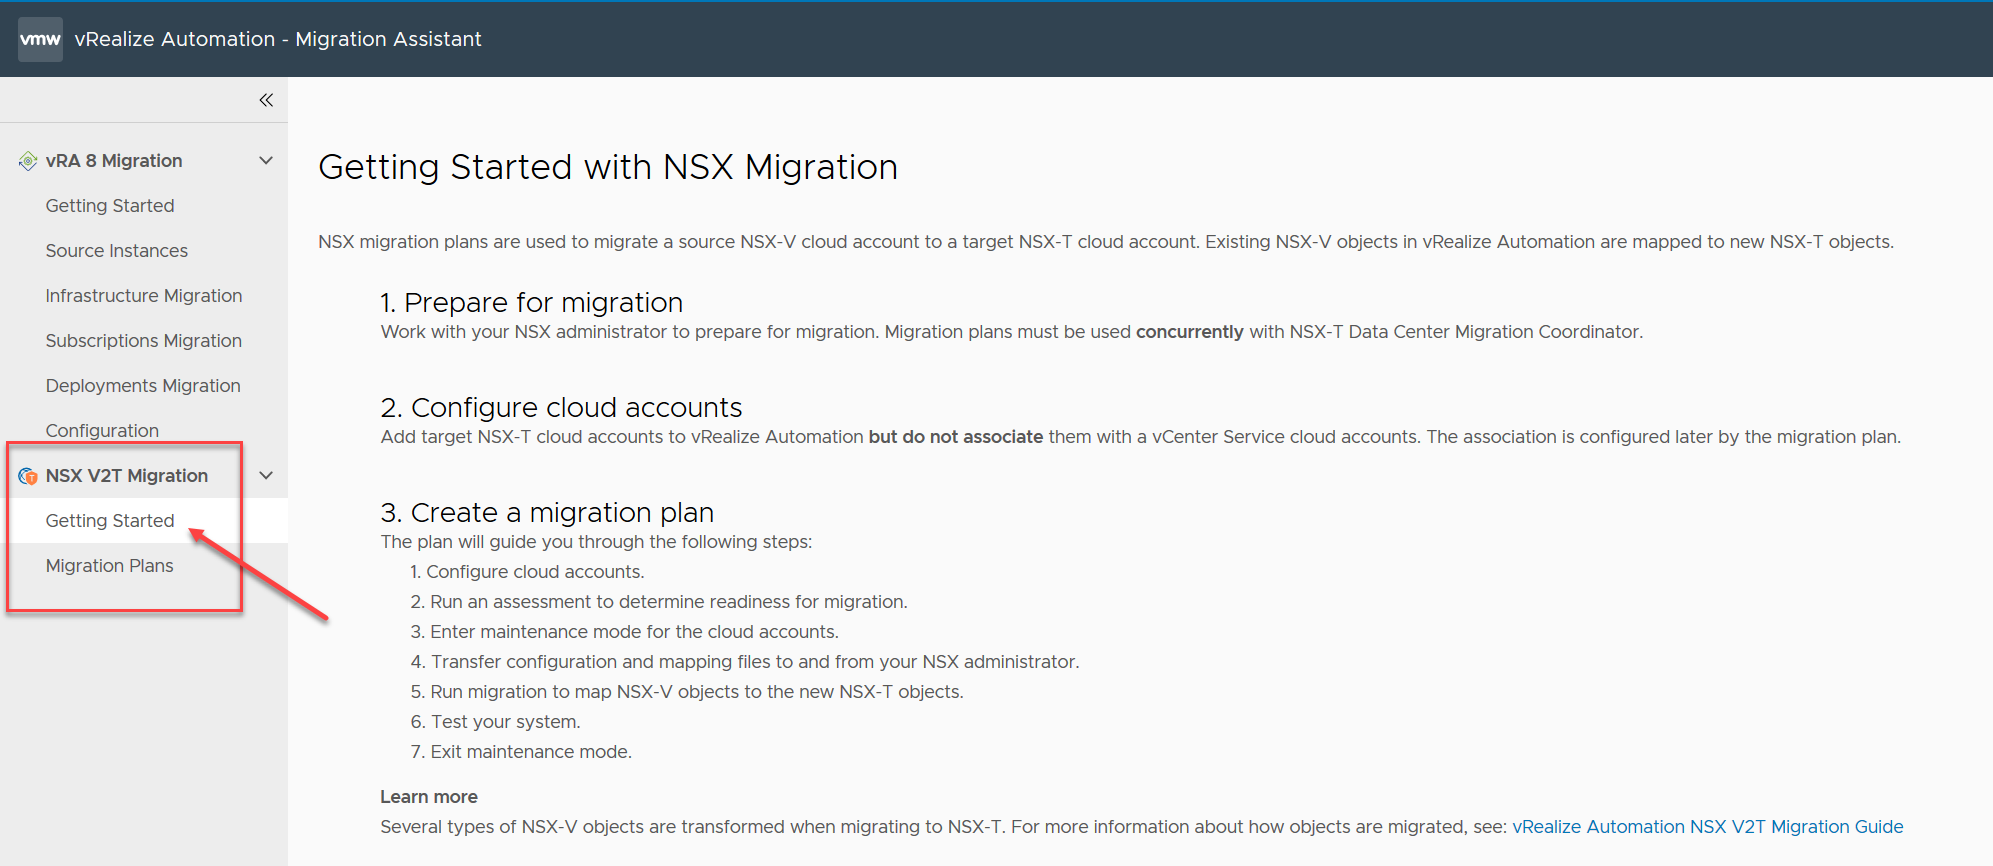
The vRealize Automation NSX-V to NSX-T Migration Getting Started page shows the step sequence.
1. Prepare for migration
To prepare for migration, work with your NSX administrator. Each migration plan requires input to and output from the NSX-T Data Center Migration Coordinator utility in NSX. During migration, the migration plan on-screen help informs you when to share data files with the NSX administrator.
Coordination between you, as the vRealize Automation administrator, and the NSX administrator is helpful for successful migration. Inform them of your plans so that they can make time in their schedule to help you by importing and exporting files in the NSX-T Data Center Migration Coordinator utility, which is the utility that performs the underlying NSX migration. During step 4 in the migration plan, you and the NSX administrator must share NSX-T Data Center Migration Coordinator files with one another, as described in Creating and running the vRealize Automation NSX-V to NSX-T migration plan. For more information about the NSX-T Data Center Migration Coordinator, see Migrating NSX Data Center for vSphere (NSX-V) with vRealize Automation in VMware NSX product documentation.
2. Configure cloud accounts
Before you can migrate your NSX-V cloud accounts to NSX-T using the vRealize Automation NSX-V to NSX-T migration assistant, you must create a new and unassociated NSX-T target cloud account in vRealize Automation for each source NSX-V cloud account.
Add a new target NSX-T cloud account to vRealize Automation for each source NSX-V cloud account in your vRealize Automation projects.
- The target NSX-T cloud account must be at NSX-T Data Center version 3.1.1 or higher.
- You must specify the Policy API method option when you create the target NSX-T cloud account. The Manager API method is not supported by the migration utility for a target NSX-T cloud account.
- The target NSX-T cloud account must not be associated to a vCenter cloud account. You create that association later in the process.
- The NSX-T cloud account specified must not be in use by a vRealize Automation deployment.
For information about how to create an NSX-T cloud account, see Create an NSX-T cloud account in vRealize Automation in Using and Managing vRealize Automation Cloud Assembly in the vRealize Automation product documentation.
3. Create an NSX-V to NSX-T migration plan
By starting the vRealize Automation NSX-V to NSX-T migration utility, you begin to populate the NSX migration plan by following the perspective on-screen instructions and prompts.
- Configure source and target cloud accounts.
- Run an assessment to determine readiness for migration.
- Enter maintenance mode for the cloud accounts.
- Transfer configuration and mapping files to and from your NSX administrator.
- Run migration to map source NSX-V objects to new target NSX-T objects.
- Test your system.
- Exit maintenance mode for the cloud accounts.
See Creating and running the vRealize Automation NSX-V to NSX-T migration plan.
An overview of NSX-V to NSX-T migration is also available in the Automating NSX-V to NSX-T Migration with vRealize Automation blog post.
