


As an alternative to running an assessment on a vulnerability policy, Automation for Secure Hosts Vulnerability supports importing security scans generated by a variety of third-party vendors.
Instead of running an assessment on a vulnerability policy, you can import a third-party security scan directly into Automation Config and remediate the security advisories it identified using Automation for Secure Hosts Vulnerability. See How do I run a vulnerability assessment for more information about running a standard assessment.
- Tenable
- Rapid7
- Qualys
- Kenna Security
- Carbon Black
Configuring a third-party connector
Before you can import a third-party security scan you must configure a connector. The connector must first be configured using the third-party tool's API keys.
To cofigure a Tenable.io connector
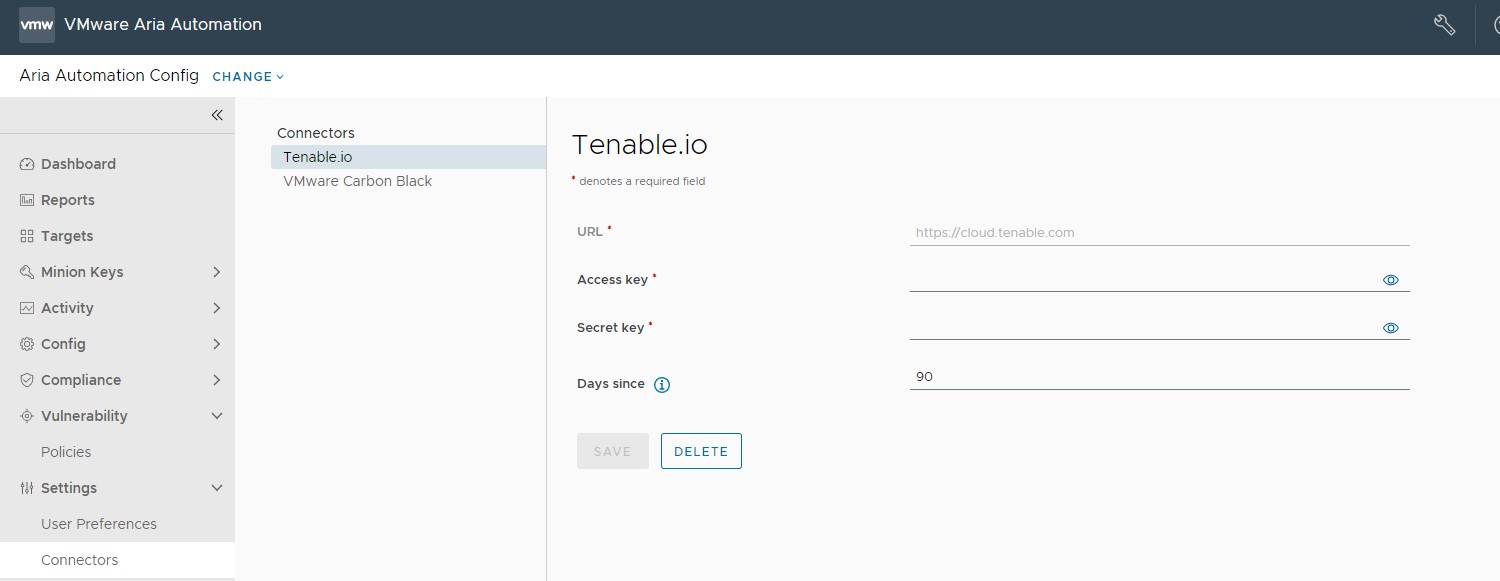
| Connector field | Description |
|---|---|
| Secret Key and Access Key | Key pair required to authenticate with the connector API. For more information on generating your keys, see the Tenable.io documentation. |
| URL | Base URL for API requests. This defaults to https://cloud.tenable.com. |
| Days since | Query Tenable.io scan history beginning this number of days ago. Leave blank to query an unlimited period of time. When you use a connector to import scan results, Automation for Secure Hosts Vulnerability uses the most recent results per node available within this period.
Note: To ensure your policy contains the latest scan data, make sure to rerun your import after each scan.
Automation for Secure Hosts Vulnerability does not poll Tenable.io for the latest scan data automatically.
|
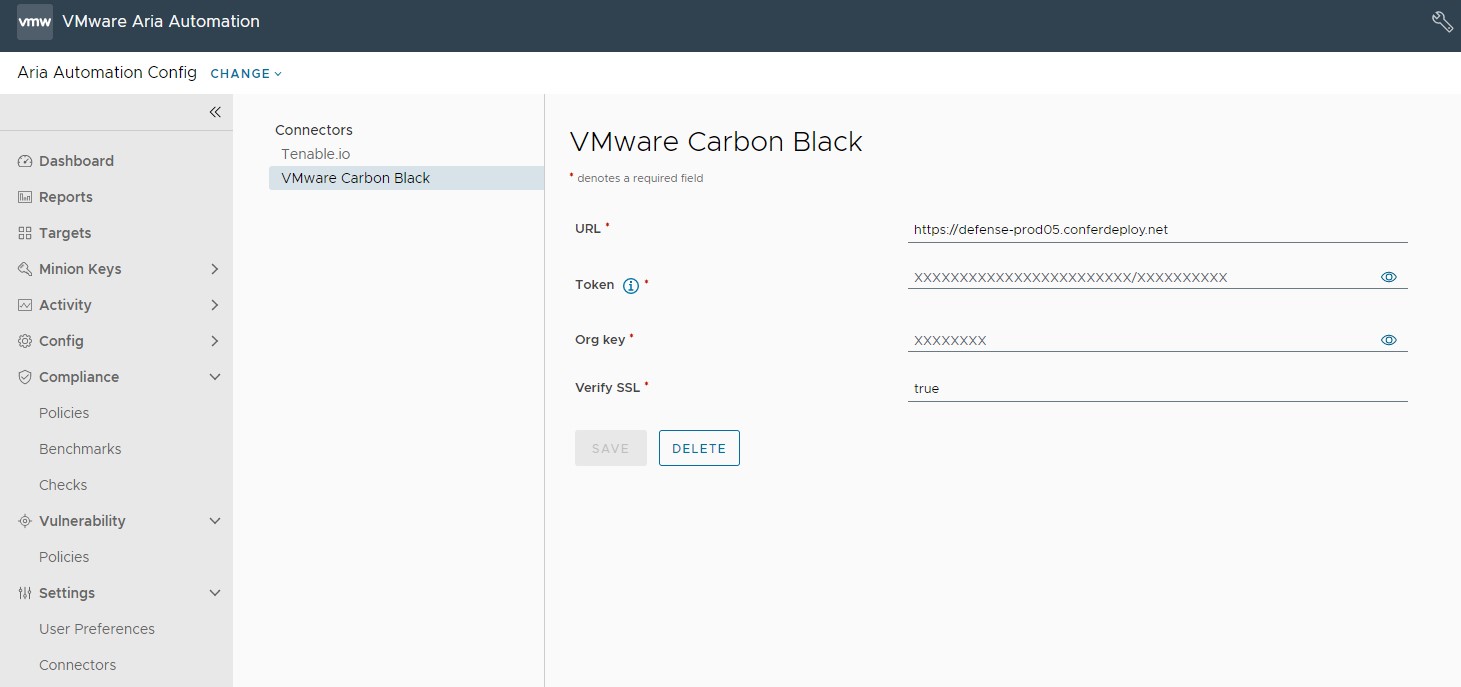
To configure a Carbon Black connector (Windows only)
Before you can configure a Carbon Black connector, you must first set up a Windows Minion Carbon Black sensor kit environment.
- Launch a Automation Config environment and deploy a Windows server.
- Install the Salt minion on the Windows server. For more information see, Salt Minion Installation.
- Accept the master keys in Automation Config, and the minion keys from Automation Config or the Salt Master.
- Install the Carbon Black sensor kit on the Windows minion. For more information, see Installing Sensors on VM Workloads.
- In Automation for Secure Hosts, define a policy with a target group that contains the Windows minion.
- After the Automation Config VMan ingestion is complete, sync the Automation Config Carbon Black module from the Salt master by running these commands:
salt mywindowsminion saltutil.sync_modules saltenv=sse. - On the Windows minion, set the Carbon Black device grain by running the
salt mywindowsminion carbonblack.set_device_grain.
| Connector Field | Description |
|---|---|
| URL | URL for API requests |
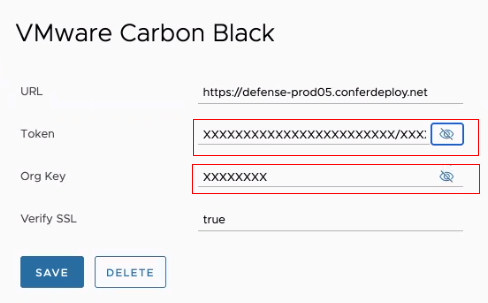
| Token and Org Key | Key pair required to authenticate with the connector API.
Note: If you a delete a VMware Carbon Black connector, these fields are populated with 'xxxx' characters. This is to maintain the token key format of 'xxxxxxxxxxxxxxxxxxxxxxxx/xxxxxxx'
|
| Verify SSL | Default is set to true. |
- Click Targets and select either All Minions or a specific minion for a policy target group.
- Click Run Command and run these commands:
saltutil.sync_all,carbon_black.set_device_grain, andsaltutil.refresh_grains.
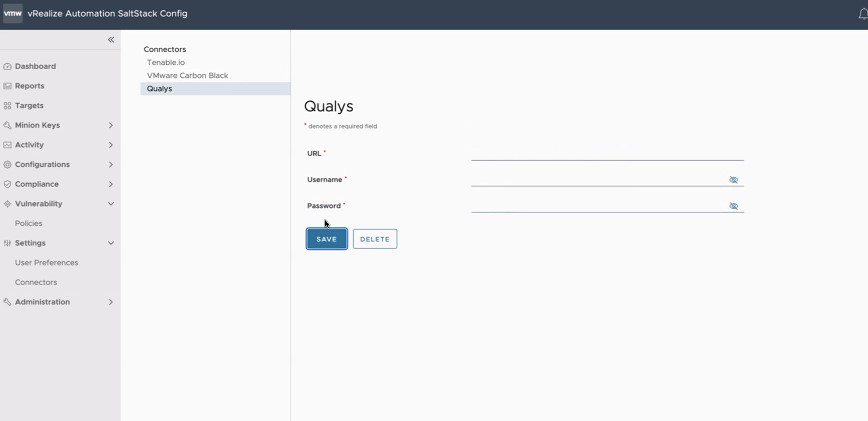
To configure a Qualys connector
To configure a Qualys connector, navigate to , enter the required details for the connector, and click Save.
The URL, Username, and Password credentials are provided by Qualys.
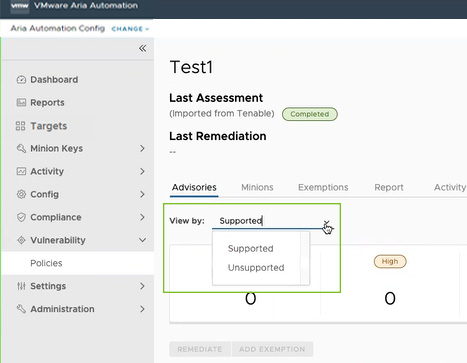
How do I import a third-party scan
You can import a third-party scan from a file, from a connector, or by using the command line.
Prerequisites
Ensure that you have configured your third-party connector in the Connectors UI.
Procedure
- In the policy dashboard, click the Policy Menu drop down arrow and select Upload Vendor Scan Data.

- Import your scan:
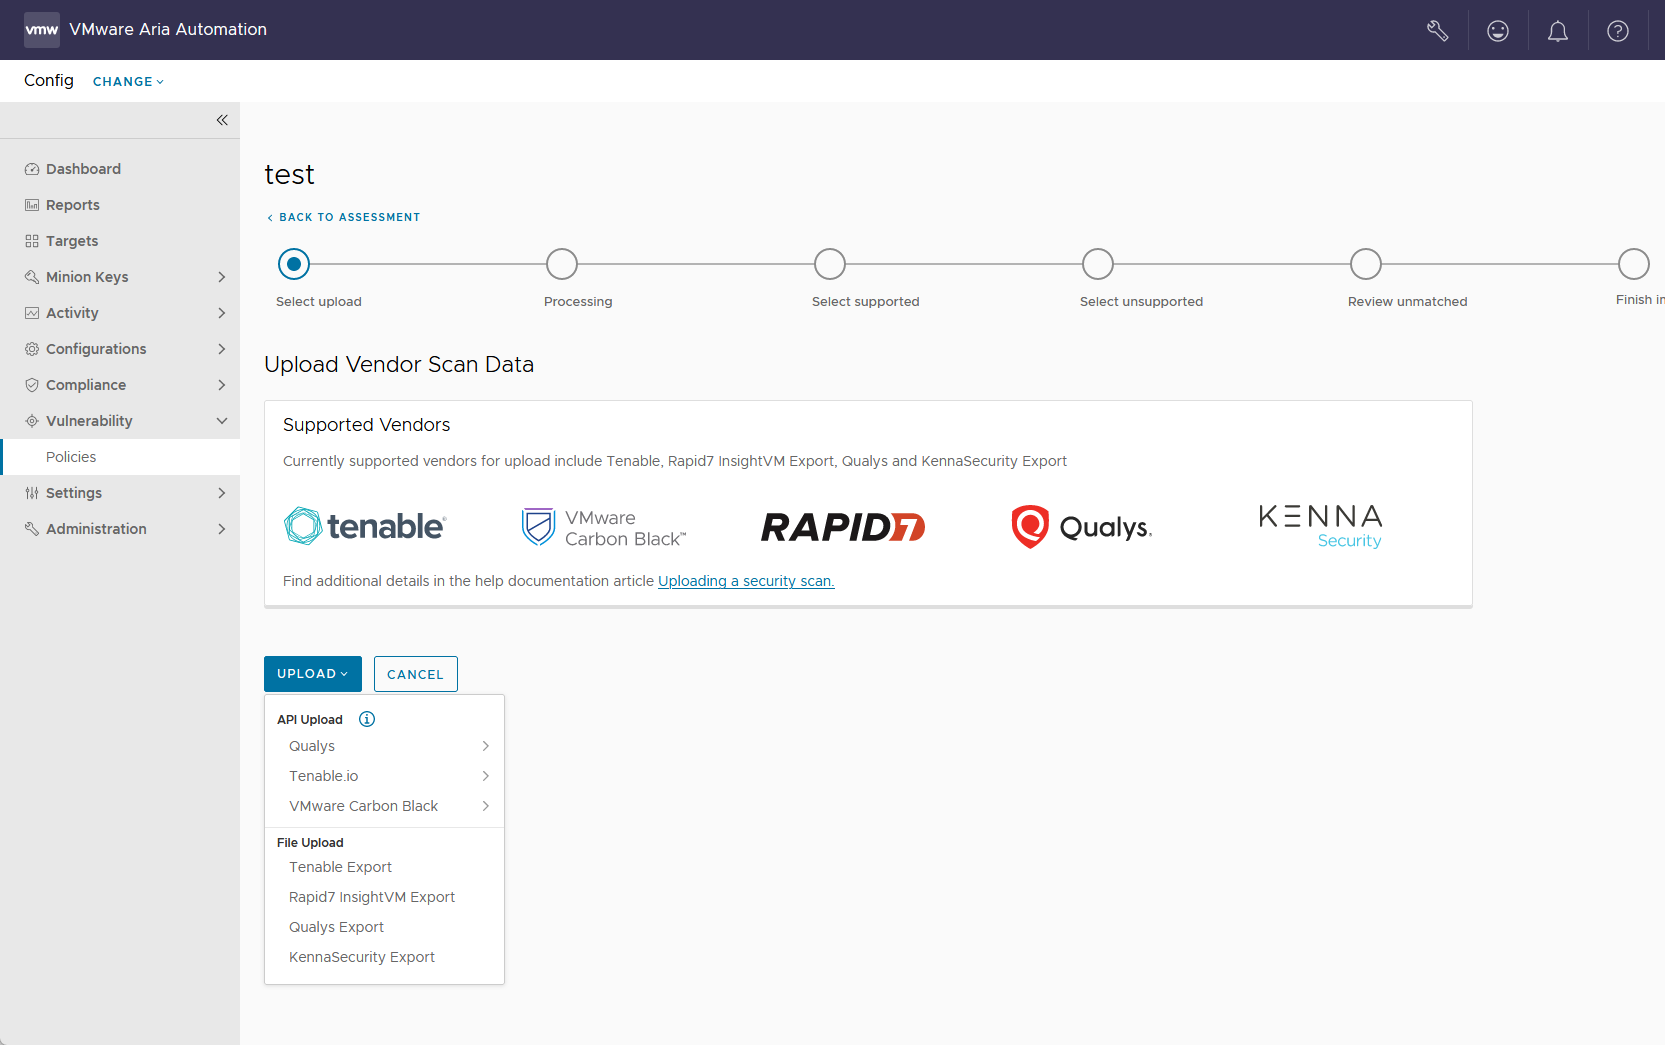
- If importing your scan from a file, select and select your third-party vendor. Then select the file to upload your third-party scan.
- If importing your scan from a connector, select and select the third-party. If no connectors are available, the menu directs you to the connectors settings workspace.
Note: If you select Qualys as a third-party vendor, all scans must be in XML format. No other formats are supported.
Results
What to do next
You can now remediate these advisories. See How do I remediate my advisories for more information.
